The Submissions Table allows you to manage every aspect of document creation and execution. Download, resume, clone, and edit previously saved or completed Smart Q&A Forms, send documents by email or to your Practice Management System, or send completed documents to your clients for electronic signing, all from one place.
Topics covered in this article:
- Locating the Submissions Table
- Searching for Submissions
- Sorting and Filtering Submissions
- Downloading Submissions
- Resuming Submissions
- Previewing Submission Details and Answers
- Renaming Submissions
- Cloning Submissions
- Sending Documents for eSigning
- Sending Documents to your Practice Management Software (PMS)
- Deleting Submissions
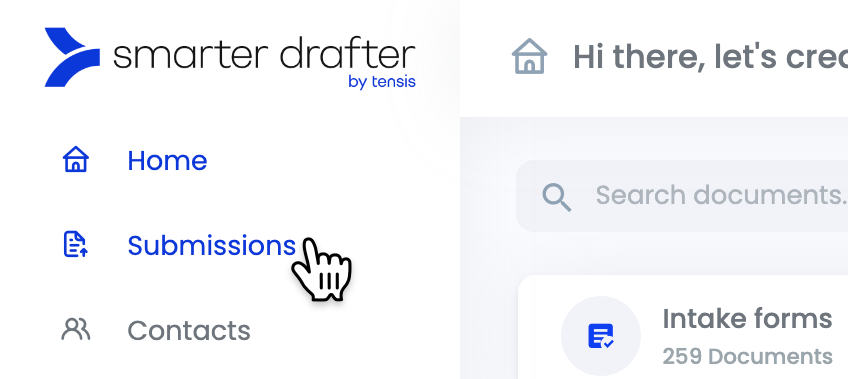
Locating the Submissions Table
Pagination of the Submissions Table
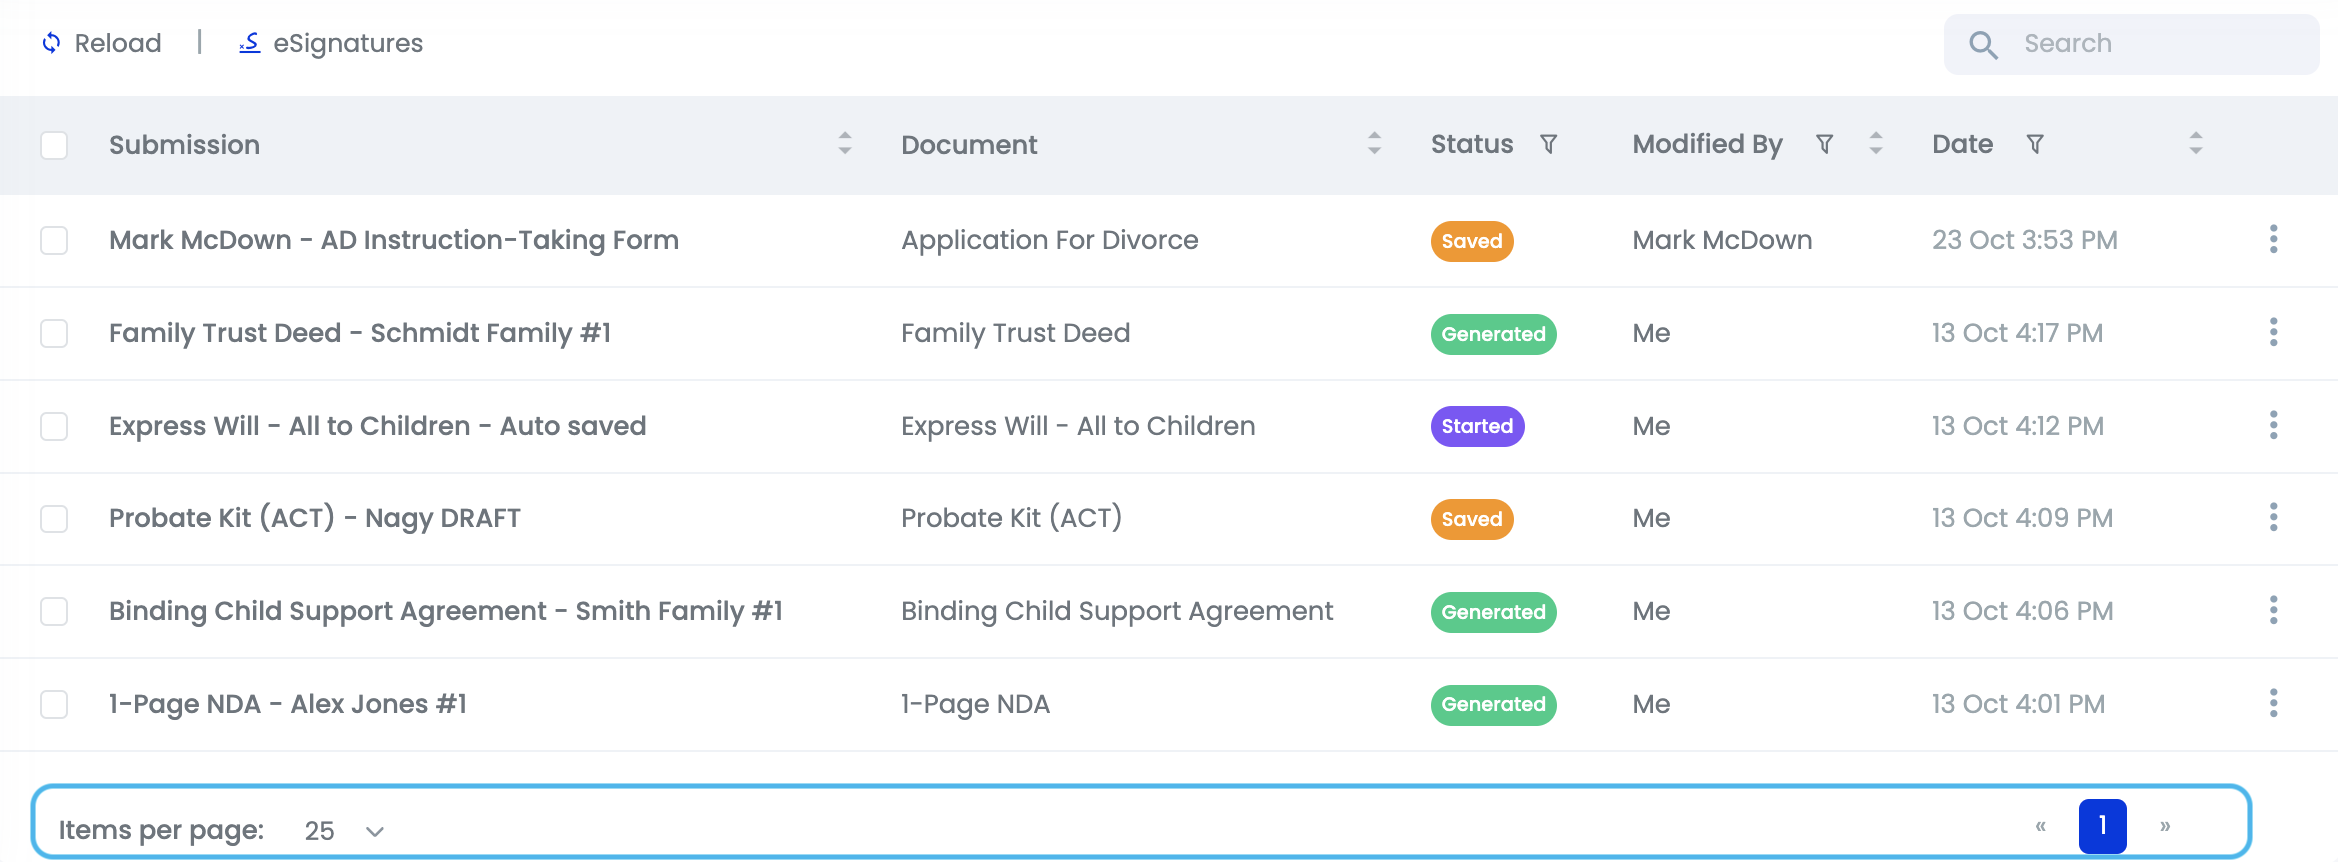
The Submissions Table is paginated, and by default only 25 submissions are shown, so if you can't see your submission in the table, you may need to navigate to the next page or increase the number of submissions shown per page.
These controls are at the bottom of the table as highlighted in the screenshot below.
Searching for Submissions
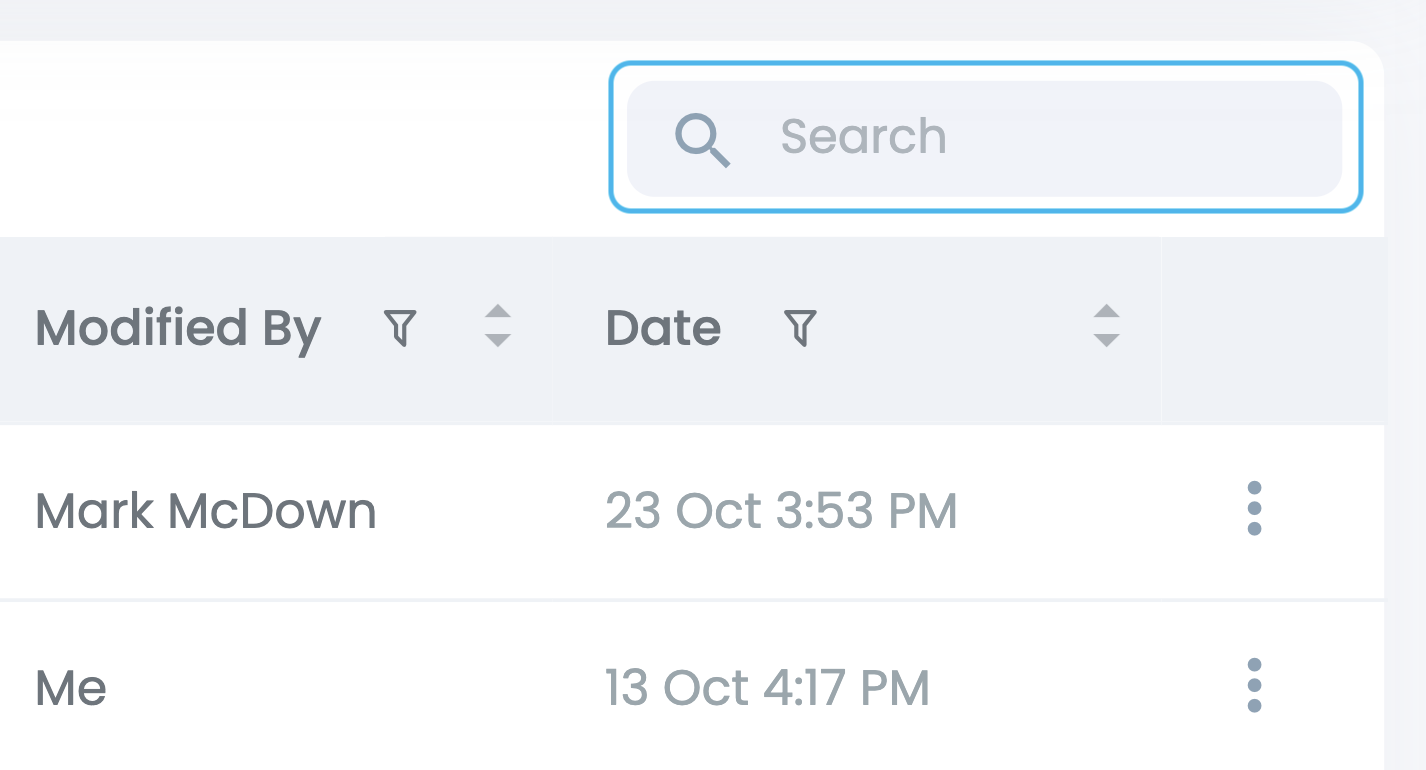
In the top right corner of the Submissions Table you will find the Search bar. Use this search bar to quickly find the submission you're looking for.
Sorting and Filtering Submissions
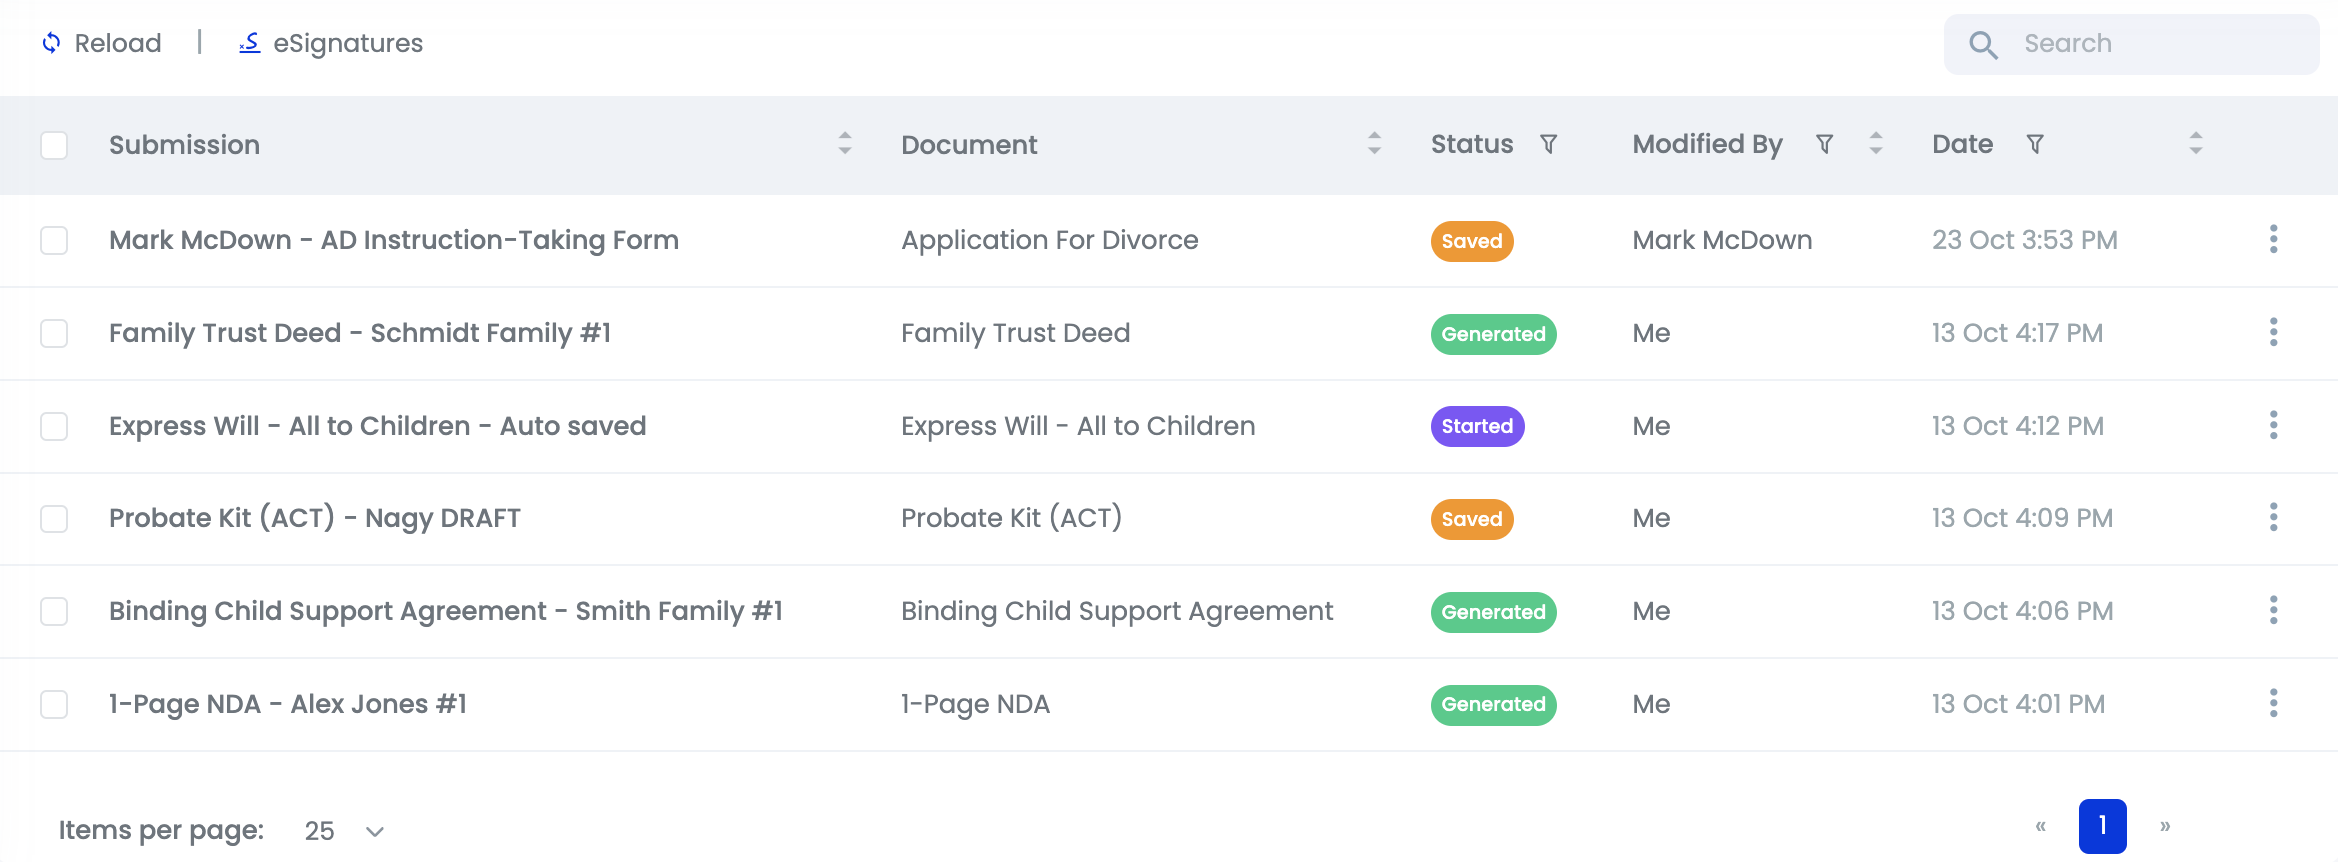
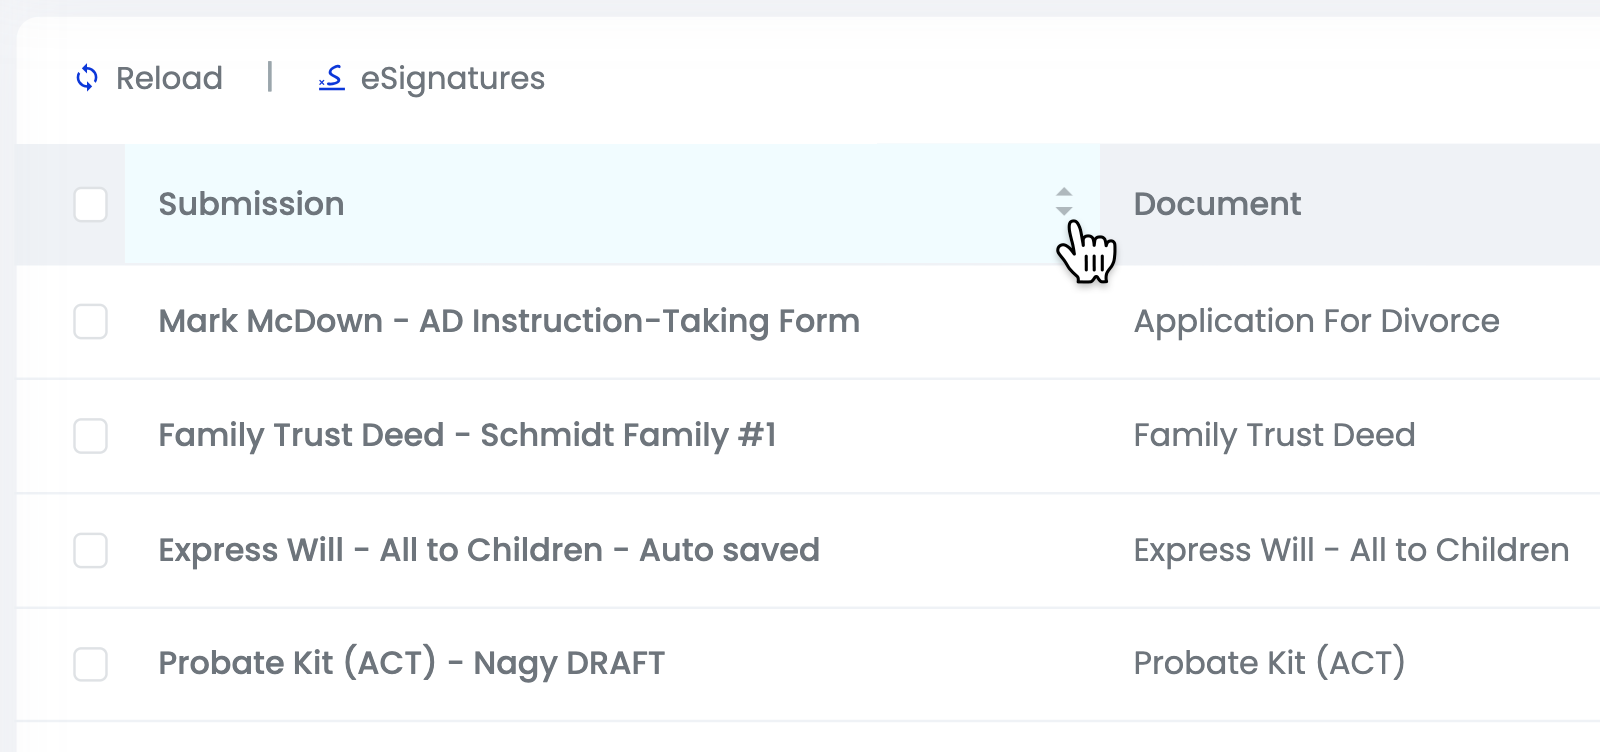
All of the submissions that been created by your Group will show up in the Submissions Table. Because of this, you can sort these submissions by submission name and document type to find what you're looking for faster.
Just click the first row of the table and the appropriate column.
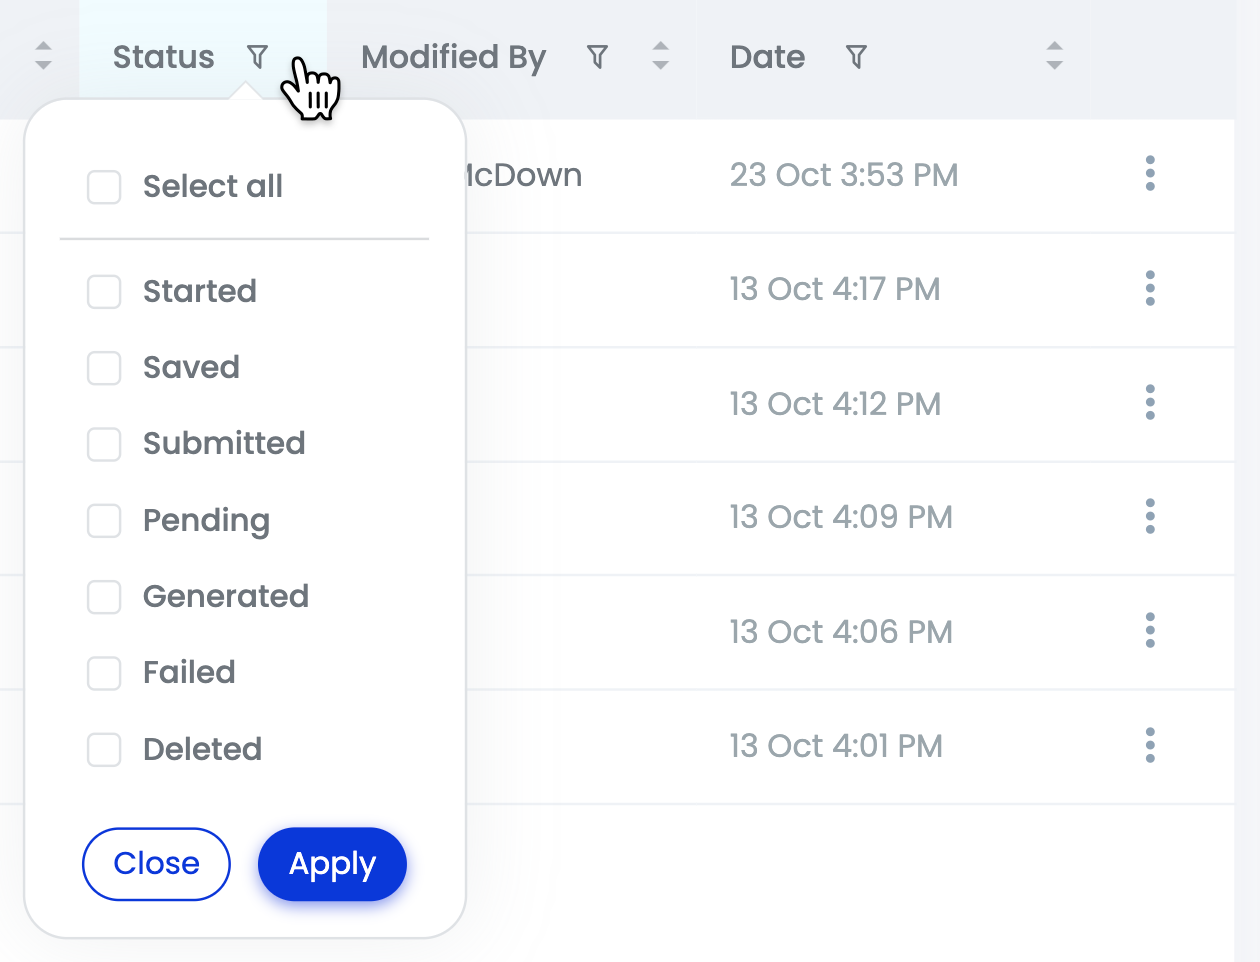
You can also filter submissions by their status, user who modified/created the submission, and modified date. Just click the filter icon on the appropriate column and choose from the dropdown.
Document Statuses
Document statuses will let you know exactly what stage your client documents are at. This includes statuses to show when documents are with a client to complete instruction-taking or when out for signing. Again, each of these statuses can be used as a filter.
Document Statuses include:
| An Instruction-Taking form has been sent to a Client | |
| The Client has completed the Instruction-Taking form | |
| A document has been sent to Client(s) for eSigning | |
| One of multiple signatories has signed the document | |
| All signatories have signed the document | |
| The Client(s) have declined signing the document | |
| The user has voided (cancelled) the eSignature request |
If a document has been saved directly from Smarter Drafter to your Practice or Document Management System, this will also be reflected in the Status column:
Downloading Submissions
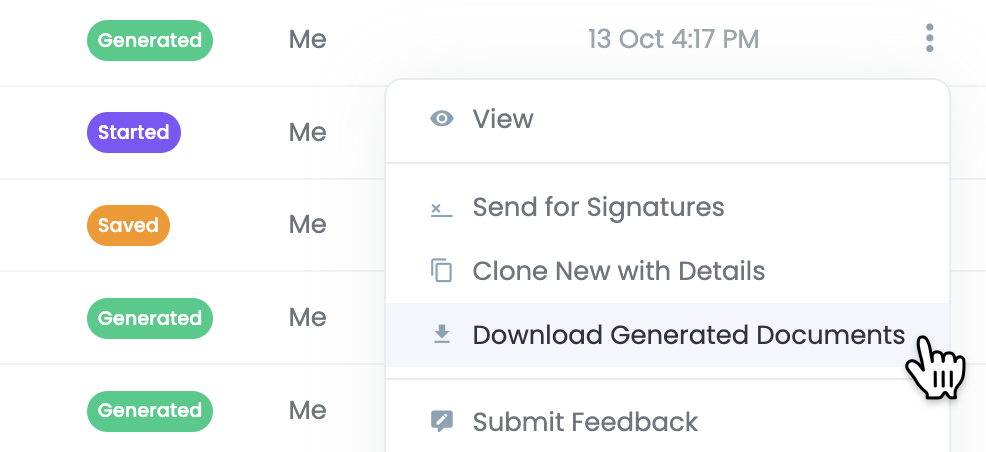
To download a generated document, simply find the submission you need and click on the three dots on the right side of the Submissions Table and select Download Generated Documents.
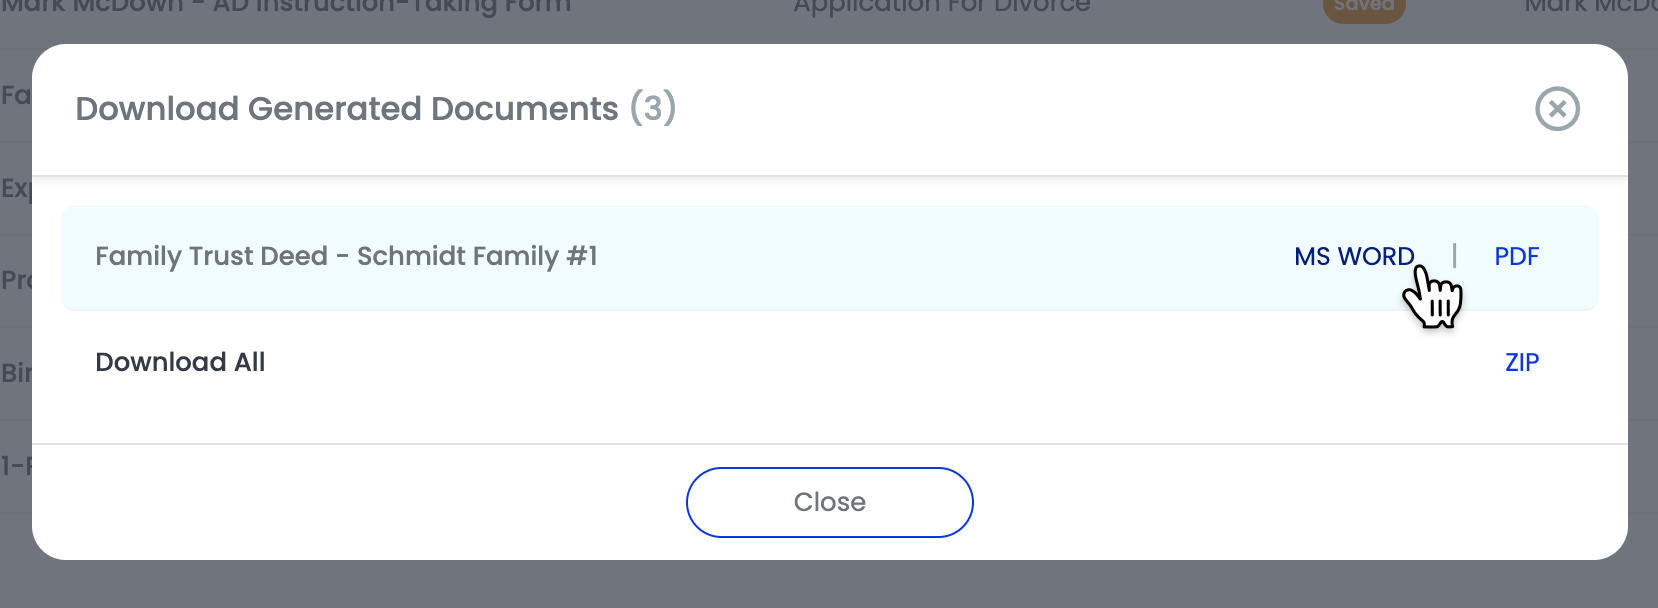
A dialog box will appear, providing you with the choice to download either the Word or PDF version of your document, or both if you prefer. Additionally, you have the option to download both versions in a convenient zip file.
Learn more about Downloading Submissions.
Resuming Submissions
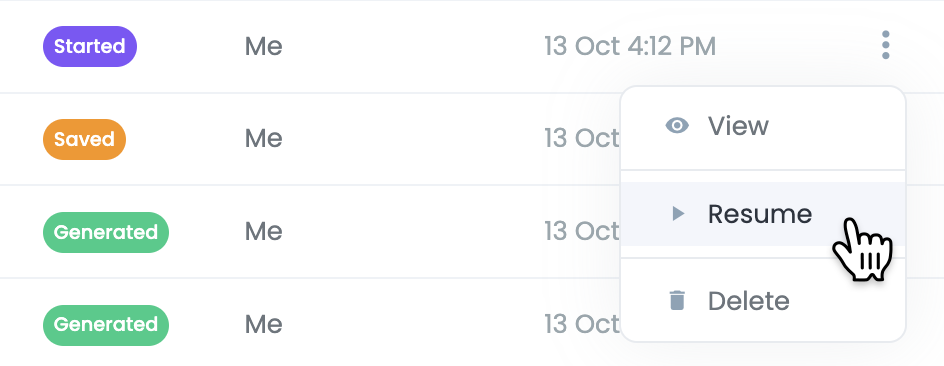
To resume a saved submission, simply find the submission you need and click on the three dots on the right side of the Submissions Table and select Resume.
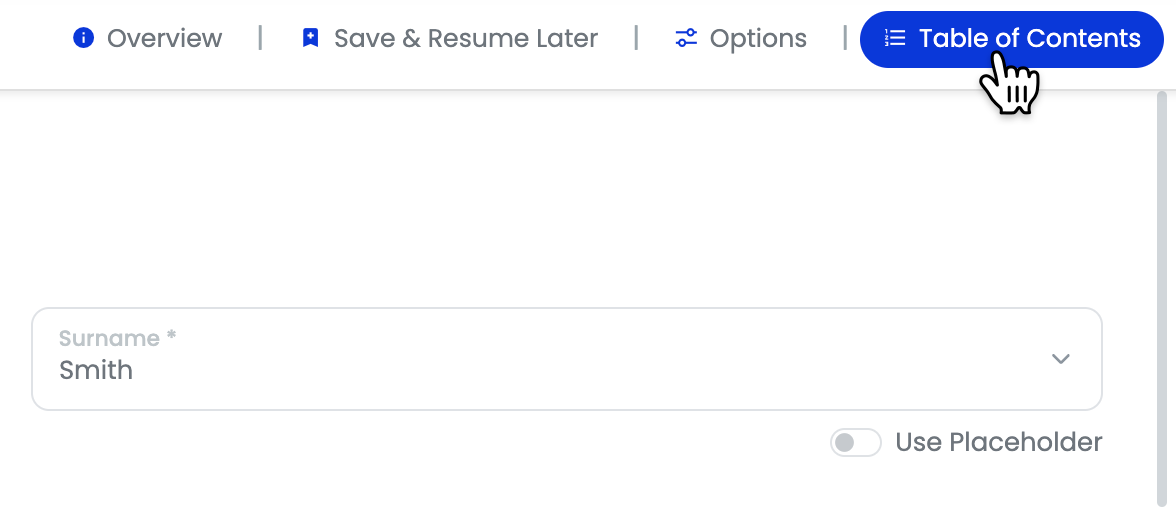
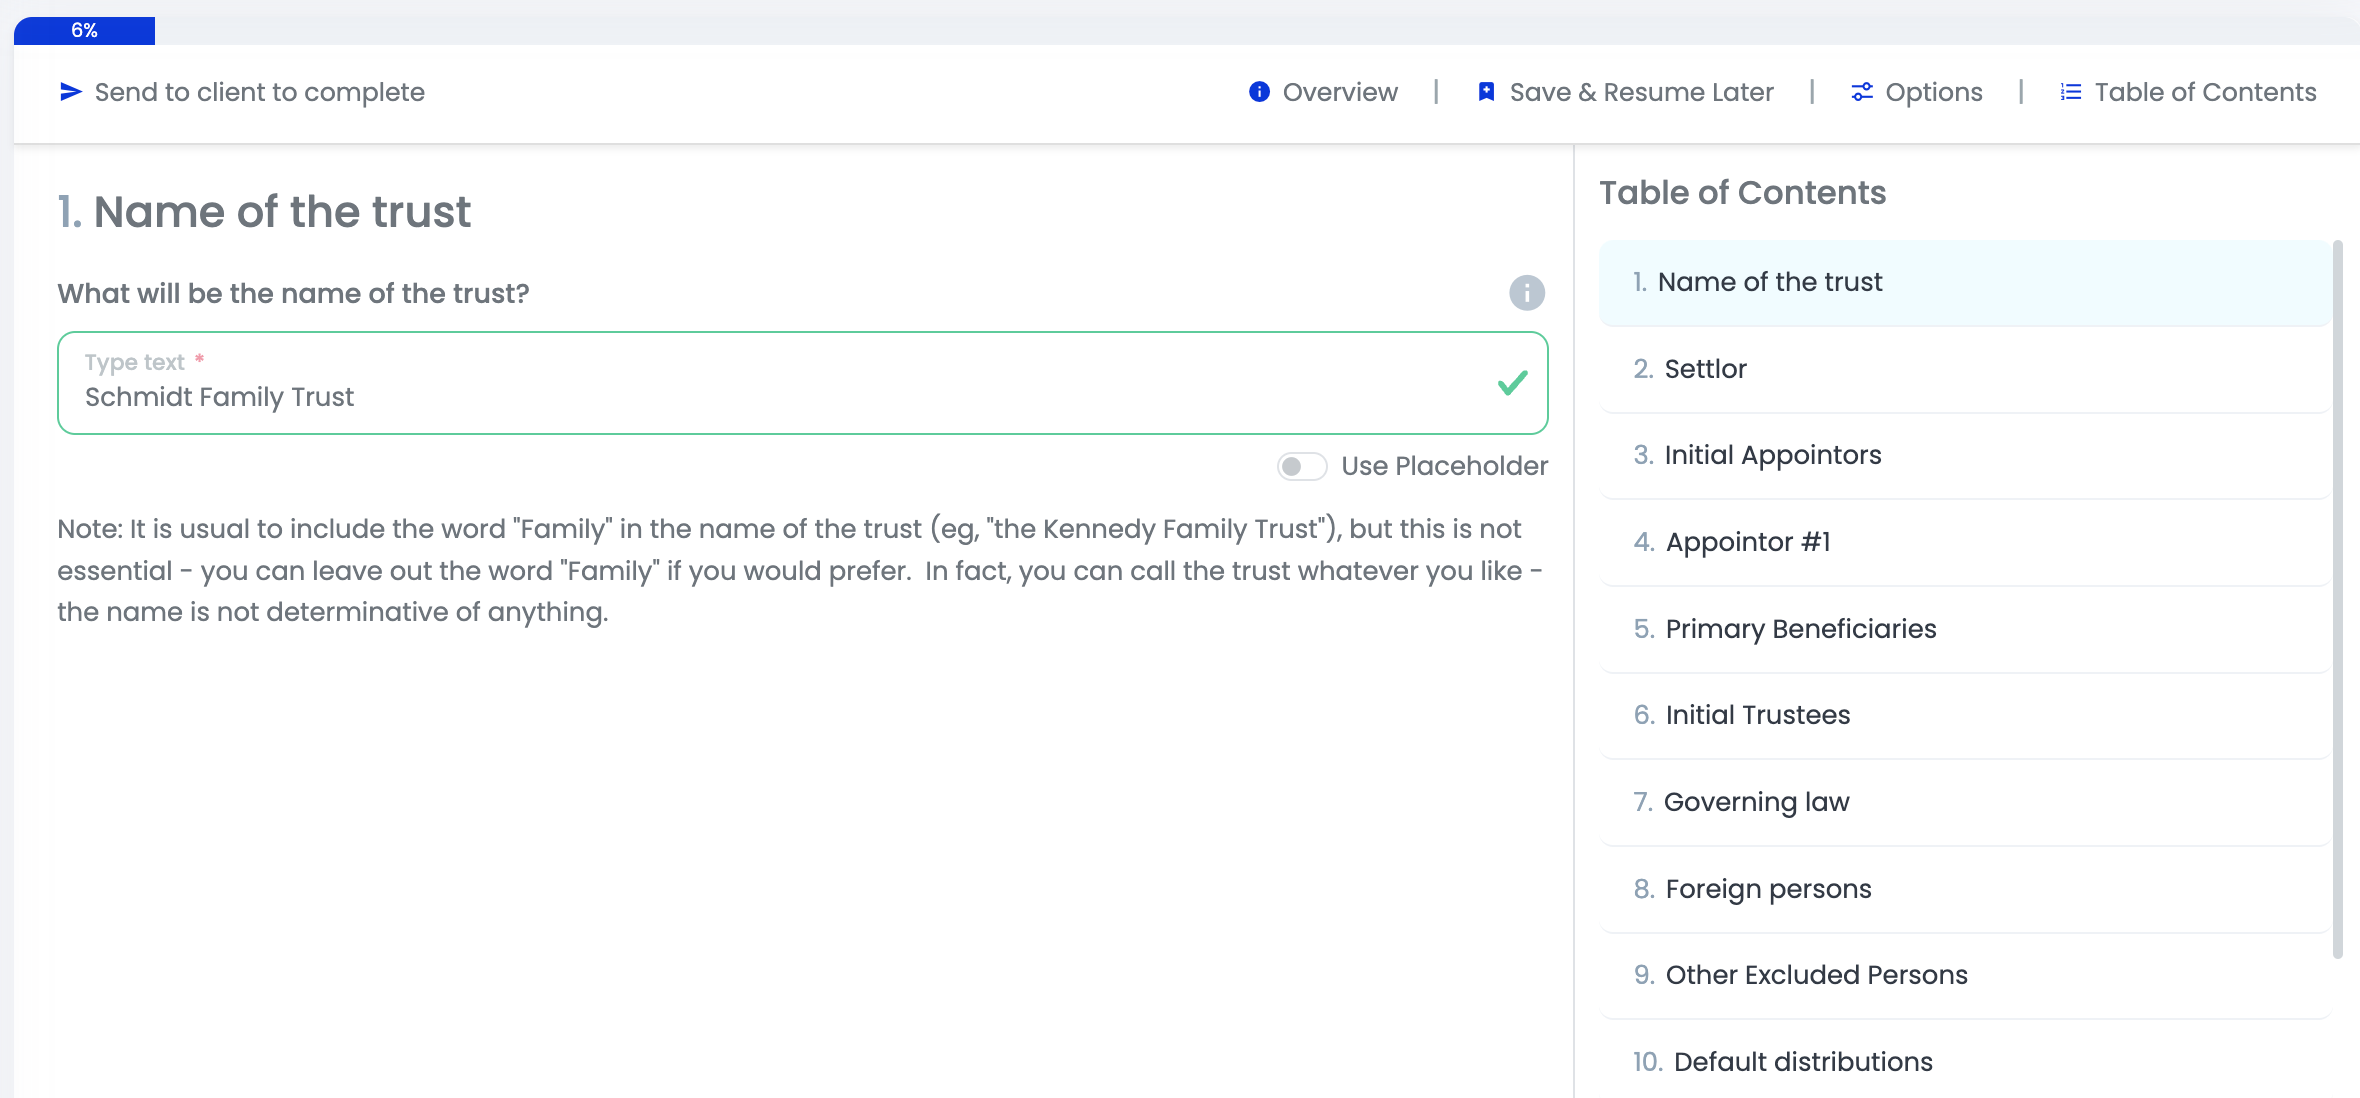
The form will open up for you, with all previously entered answers already populated. You can use the Table of Contents navigation panel to browse the previously filled in data.
Learn more about Resuming Submissions.
Previewing Submission Details and Answers
You can access complete information about a submission by simply clicking on the name of the submission in the left side of the Submissions Table.
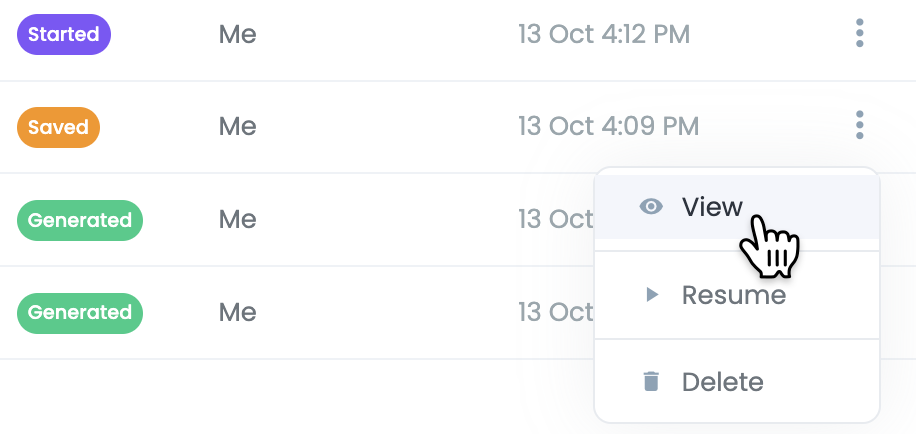
Alternatively, click the three dots on the right side of the Submissions Table and select View.
A panel will appear on the right side with two tabs:
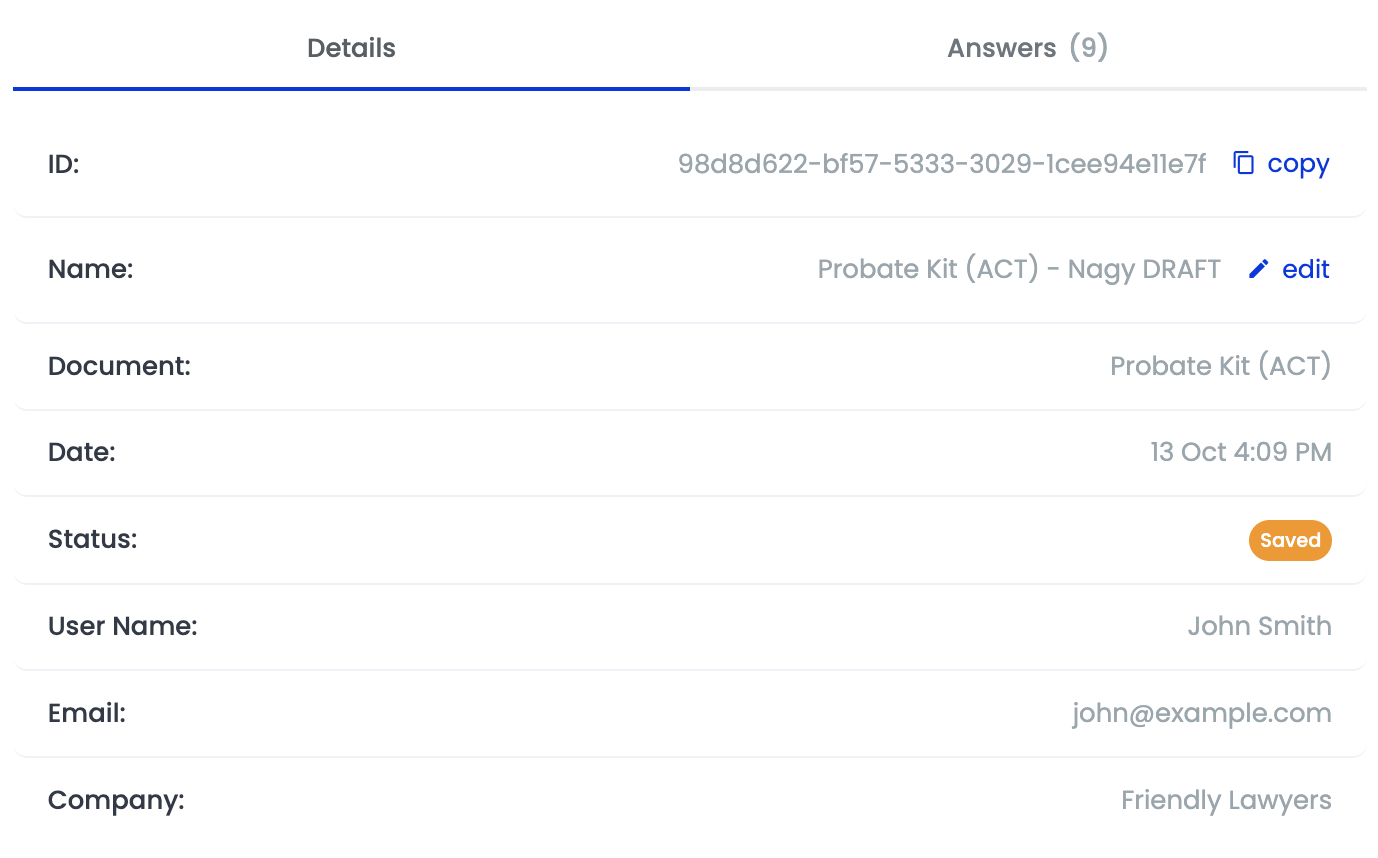
Details tab
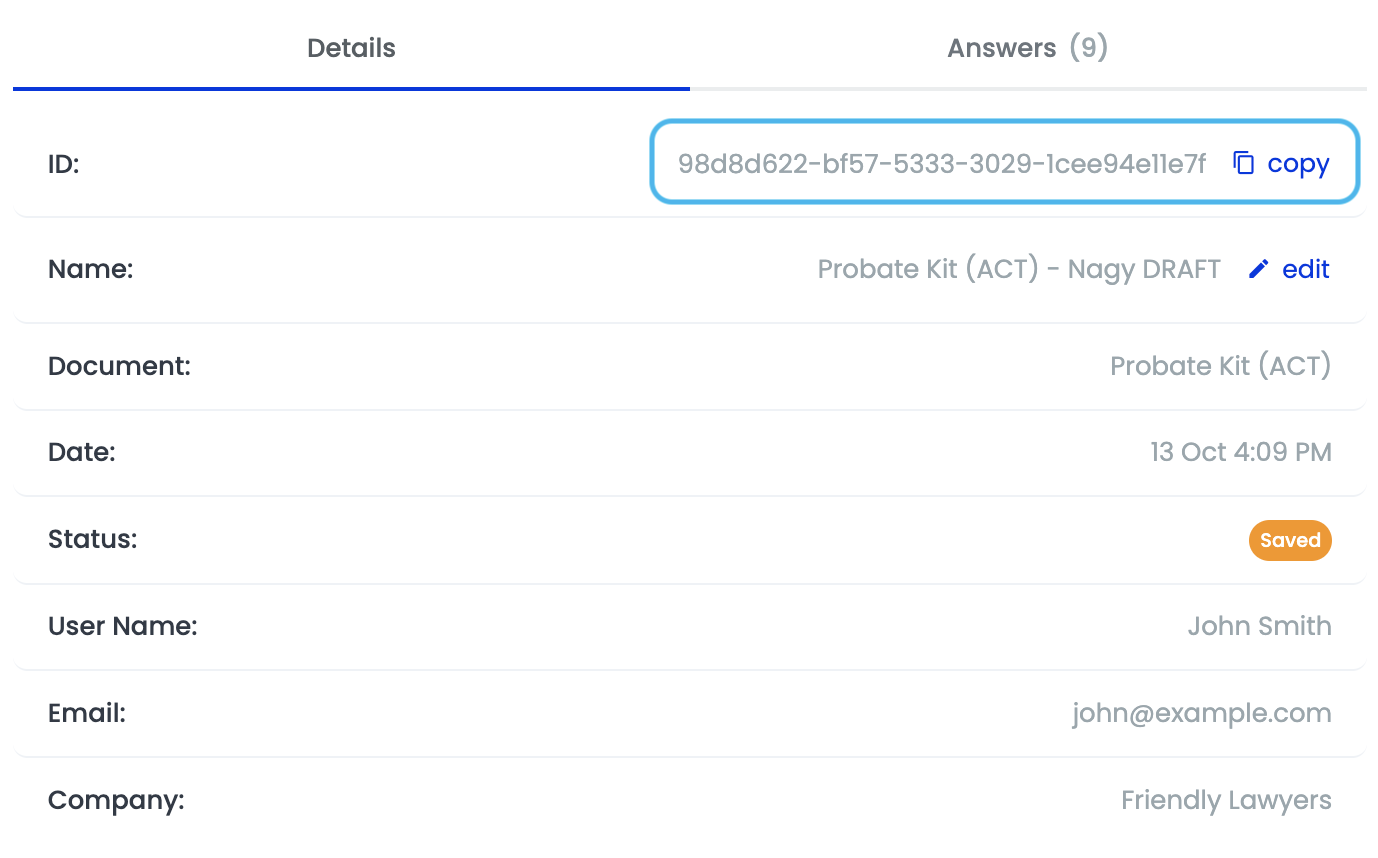
The Details tab contains the submission ID, submission name, document type, date, status, as well as the user who created the submission, the date, and which company they are under.
Answers tab
The Answers tab contains a comprehensive list of all the answers provided in the Smart Q&A form. This feature is incredibly helpful if you need to refresh your memory on the responses you provided or if you're taking over a submission from a colleague.
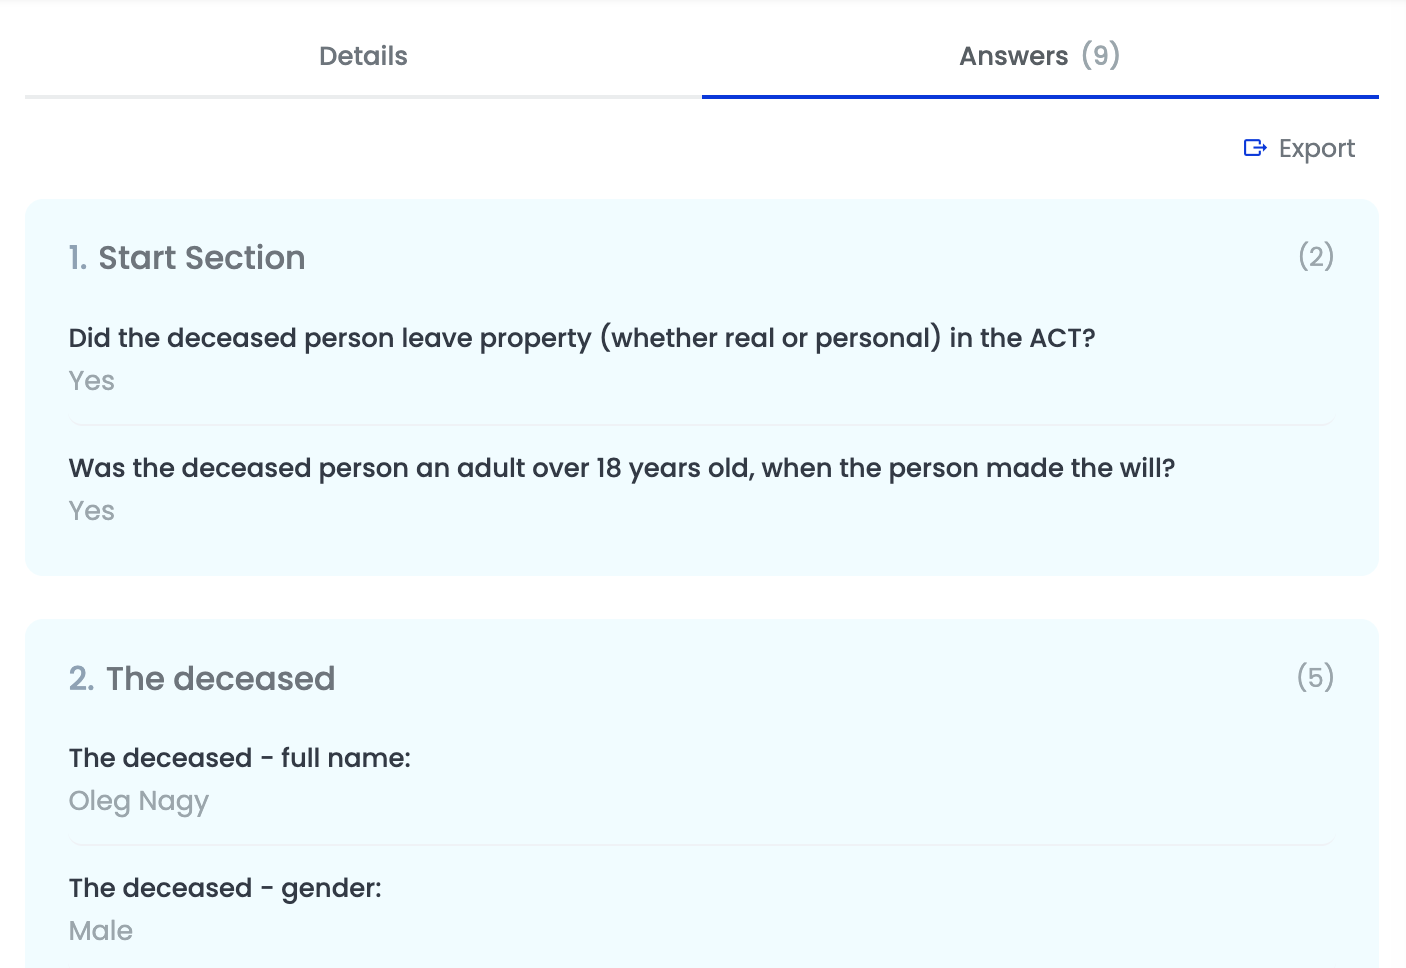
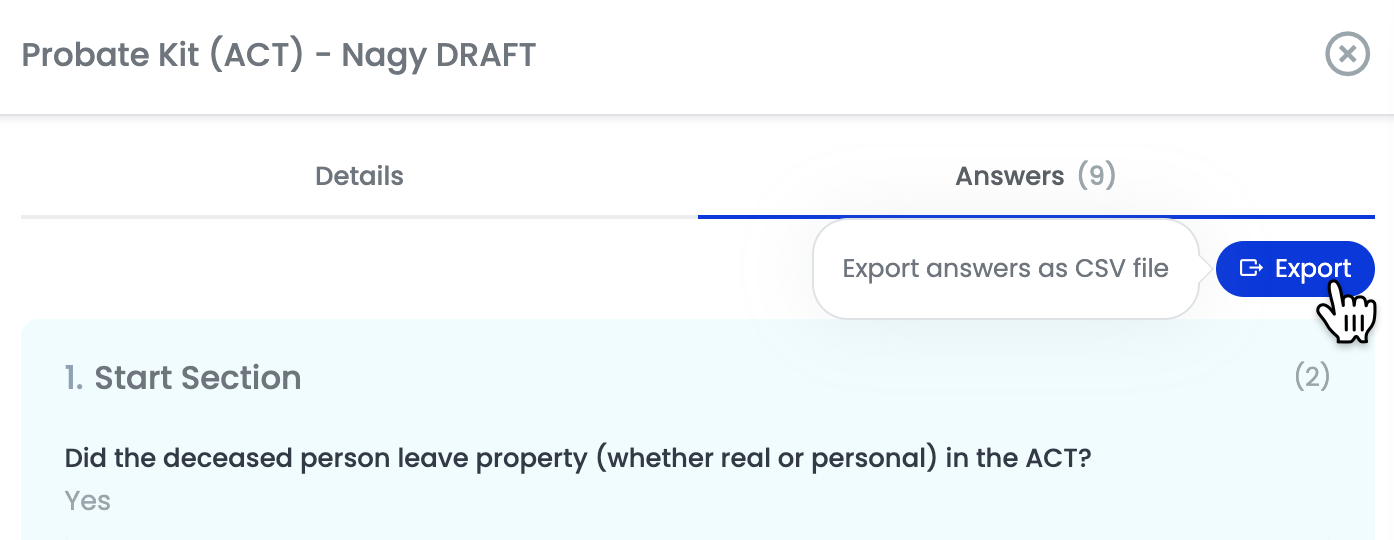
The answers can be exported in a .csv file, which includes all the information from the Smart Q&A form, such as questions, responses, and other relevant data captured during the submission process.
To export the answers, simply click on the Export button located in the top right corner of the Answers tab.
Submission IDs
Each submission is given a unique ID number/code. Submissions IDs can be useful for:
- finding particular submissions, as you can filter the Submissions Table by pasting the submission ID into the search bar at the top right of the table
- obtaining support from the Smarter Drafter team
The submission ID for each submission can be found at the top of the submission Details tab. Just click the three dots on the right side of the Submissions Table and select View.
Renaming Submissions
To rename a submission, click the three dots on the right side of the Submissions Table and select View.
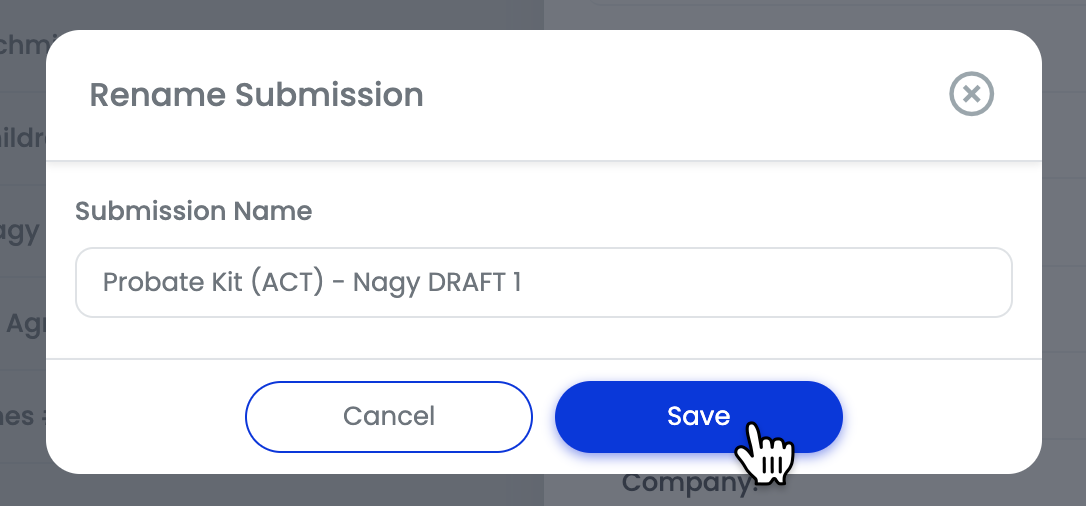
Click edit next to the submission name.
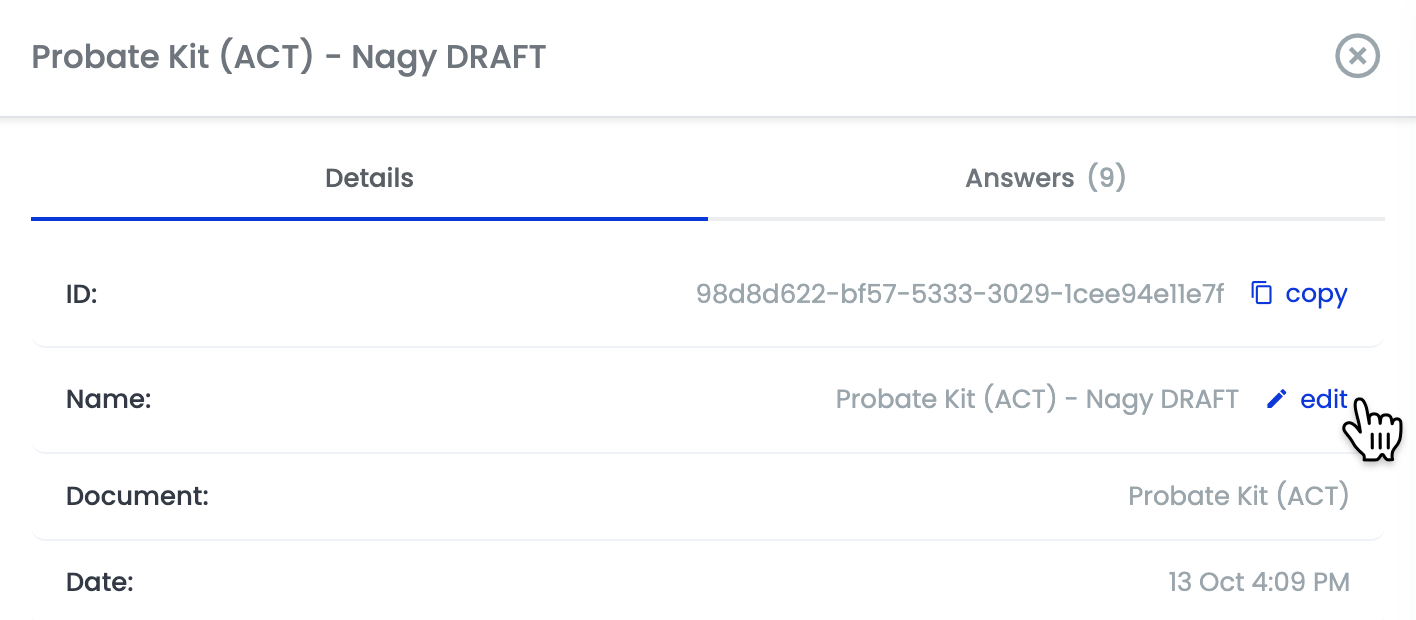
Rename your submission and click Save.
Learn more about Renaming Submissions.
Cloning Submissions
To clone a submission, click the three dots on the right side of the Submissions Table and select Clone New with Details.
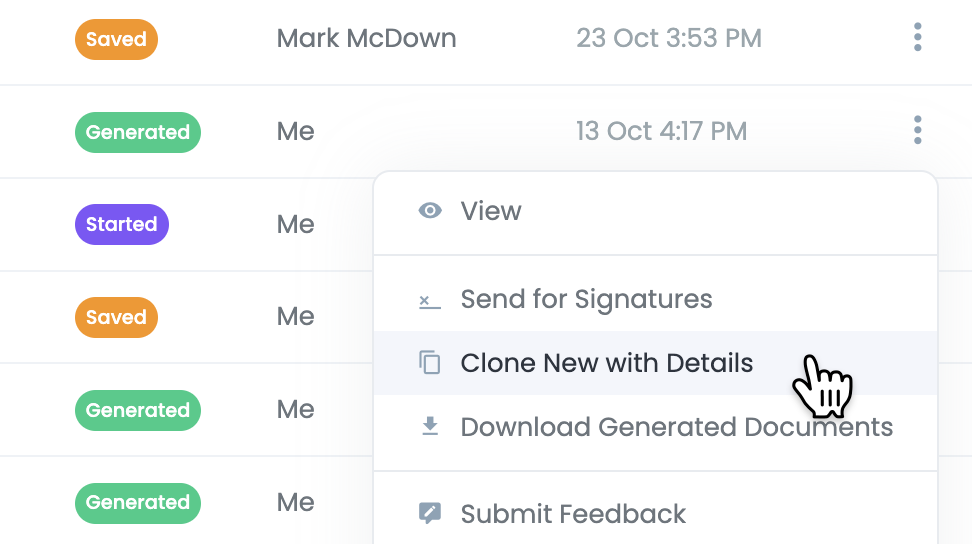
This will create a new saved draft submissions with all of the answers from the original submission. You can use the Table of Contents navigation panel to jump through the form and make changes or jump to the end of the form to submit.
Find out more about Cloning Submissions.
Sending Documents for eSigning
Generated documents can be sent for electronic signing straight from the Submissions Table.
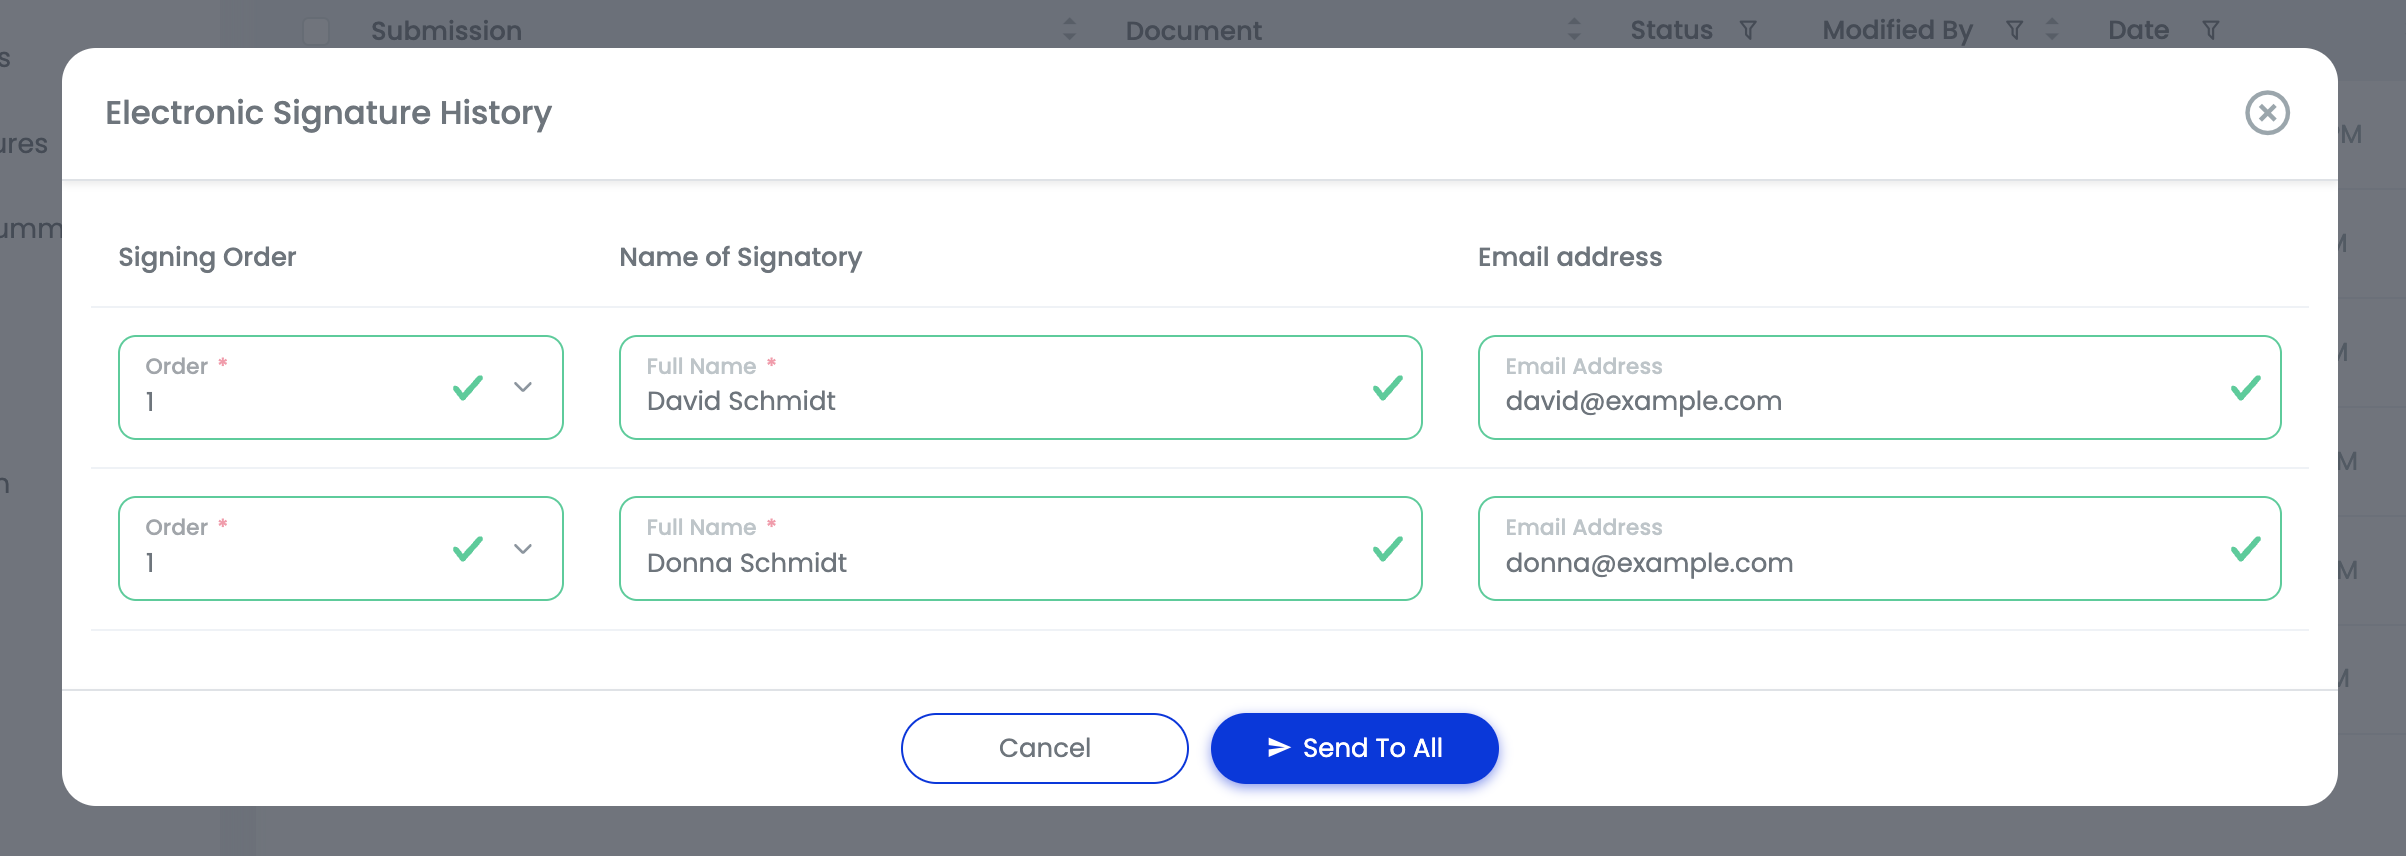
To send a document for eSigning, click the three dots on the right side of the Submissions Table and select Send for Signatures.
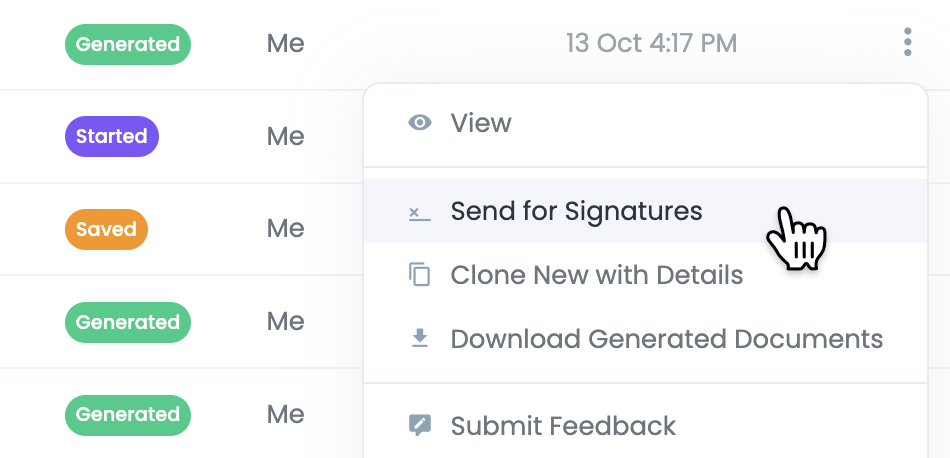
A dialog will appear, outlining all the parties that are required to digitally sign the document. These are pre-populated based on the answers in the Smart Q&A form.
Sending Documents to your Practice Management Software (PMS)
Documents generated in Smarter Drafter can be saved directly to a matter in your PMS. You’ll be able to keep all your documents in one place with just a single click, helping you avoid double-handling and maintaining the integrity of your documents.
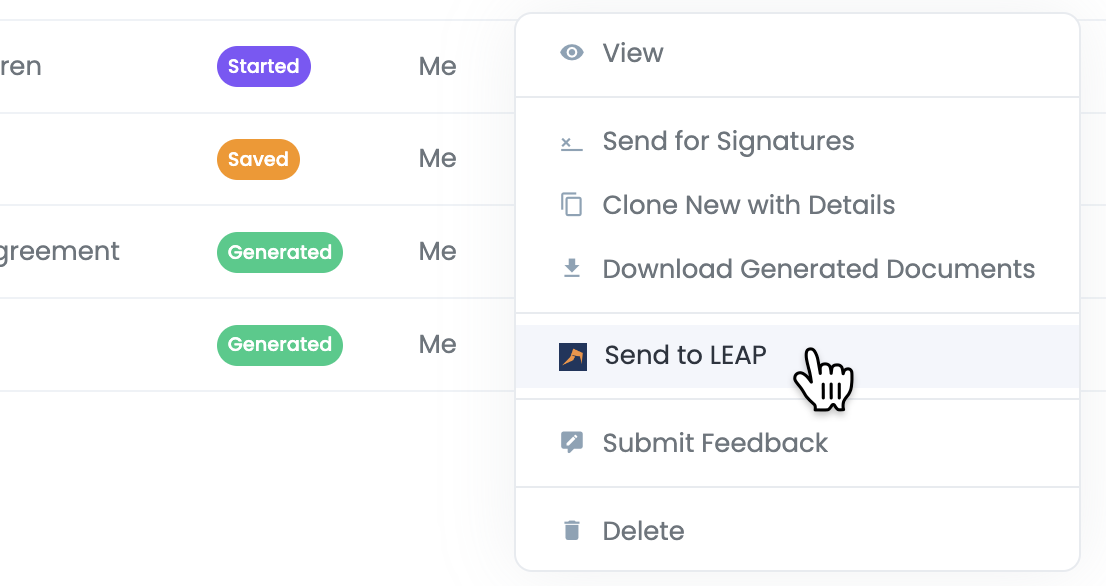
To send a document to your PMS, click the three dots on the right side of the Submissions Table and select Send to PMS.
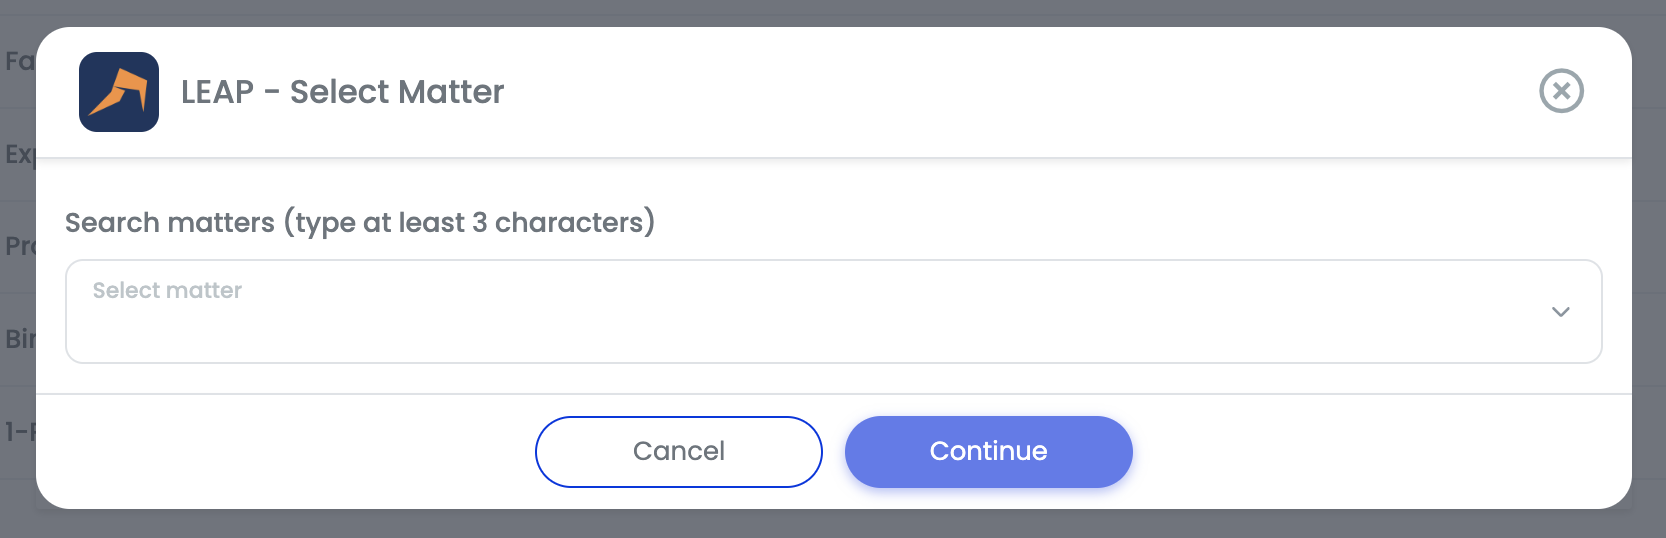
Step through the dialog to save your document to your PMS.
Note: We're using LEAP in this example, but depending on the PMS you use and whether you have the integration enabled, the above steps will vary.
For example, if you use Actionstep and you've enabled the integration, you will see Send to Actionstep and the following steps will be related to that PMS.
Deleting Submissions
Keeping your Submissions Table clean is super important. That's why we've made it easy to remove existing submissions that are no longer needed.
To delete a particular submission, click the three dots on the right side of the Submissions Table and select Delete.

Confirm your choice by selecting Delete on the confirmation dialogue that shows up.
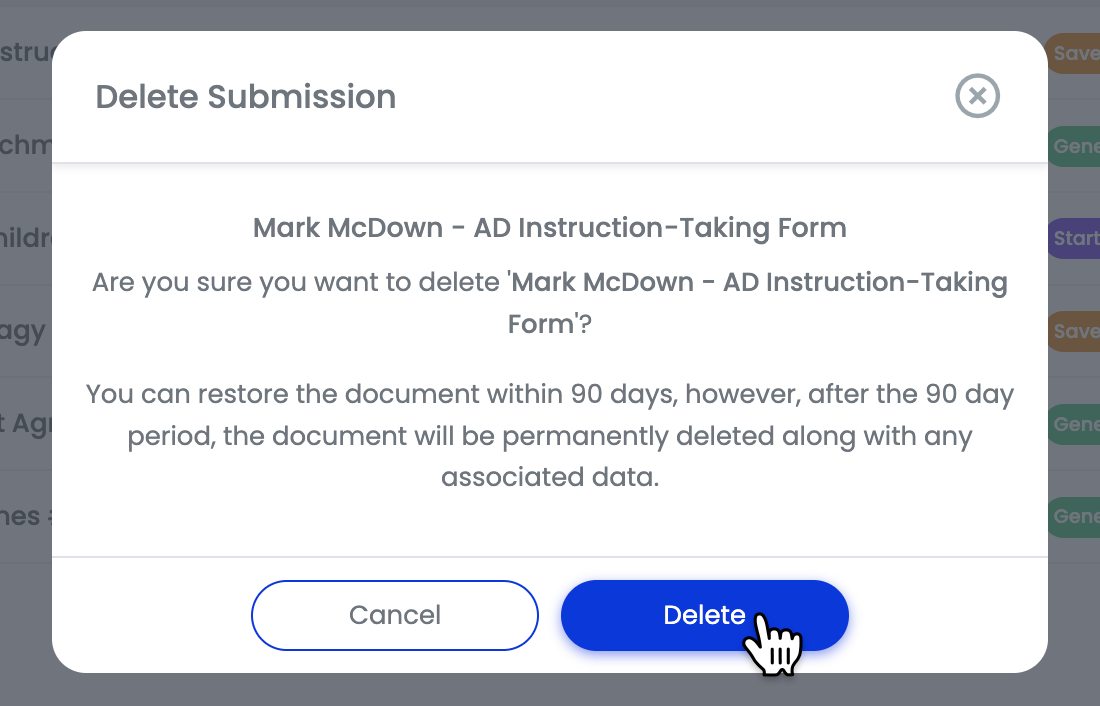
Please note: You can restore the document within 90 days, however, after the 90 day period, the document will be permanently deleted along with any associated data.
To restore a deleted submission within the Submissions Table, click on Status and filter by Deleted. Find your submission you want to restore, click the three dots and select Restore.