Sending eSignatures directly from the Smarter Drafter eSignature Portal provides flexibility for placing eSignatures, names, witnesses, initials and dates in a document.
To use the eSignature function, you need to enable eSignatures as an integration and then you can set specific preferences, branding and email settings for your eSignatures through the eSignature Portal.
Topics covered in this article:
Sending eSignatures from the eSignature Portal
There are two methods to access the eSignature Portal. These methods are only available after enabling eSignatures for your Smarter Drafter account.
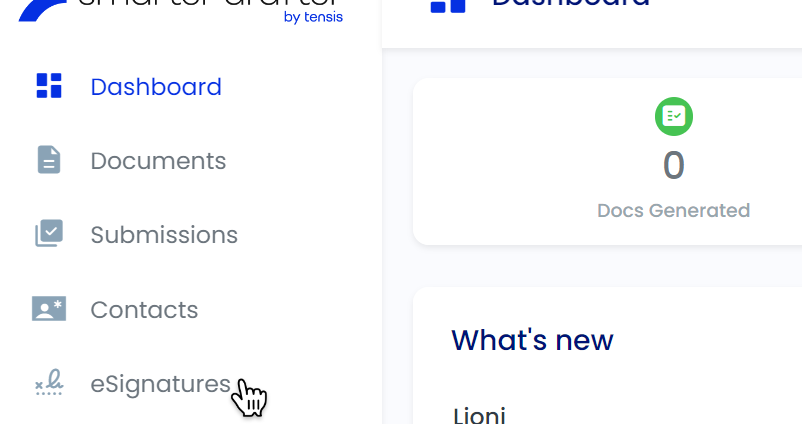
Method 1: Click on eSignatures in the side navigation to open up the eSignature Portal.
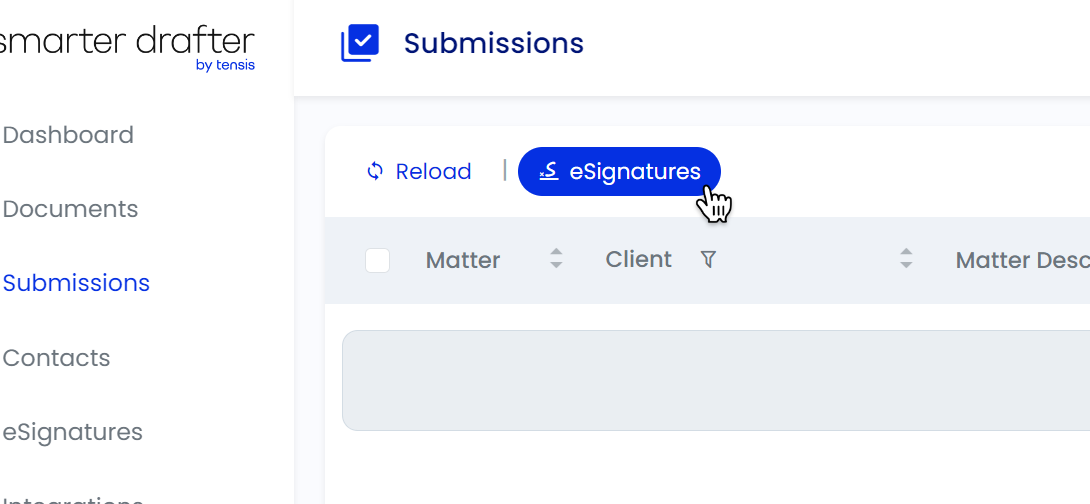
Method 2: Click on eSignatures above the Submissions Table to open up the eSignature Portal.
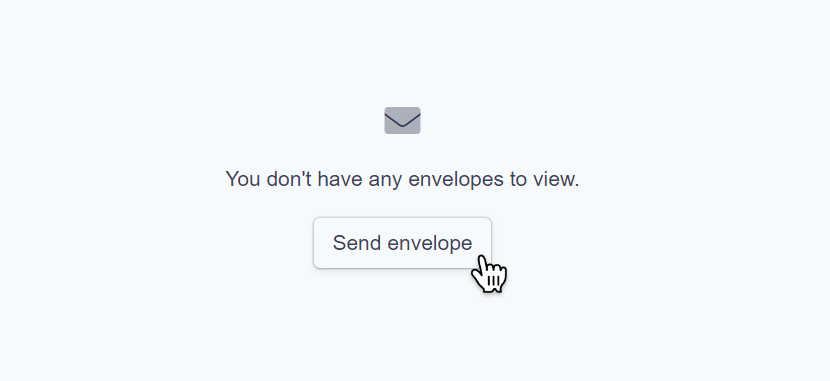
Click on Send Envelope to start a new eSignature.
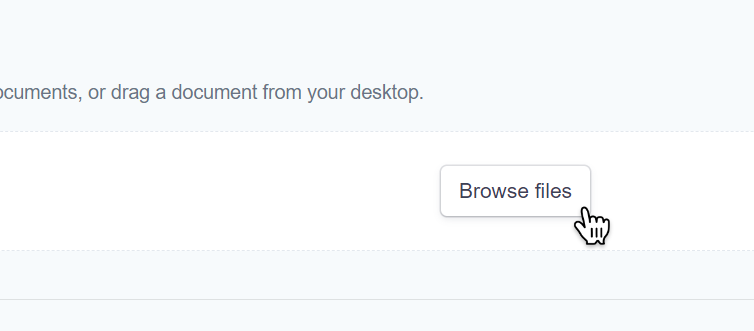
Click on Browse Files to upload the document that needs signing.
Add the recipient(s) who need to sign the document by filling out their details. Add extra recipients with the Add recipient button.
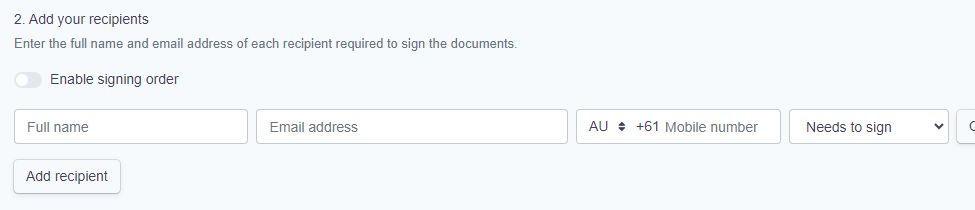
Note: Only the Full name and Email address are required. The Mobile number is not required to send the eSignature envelope successfully.
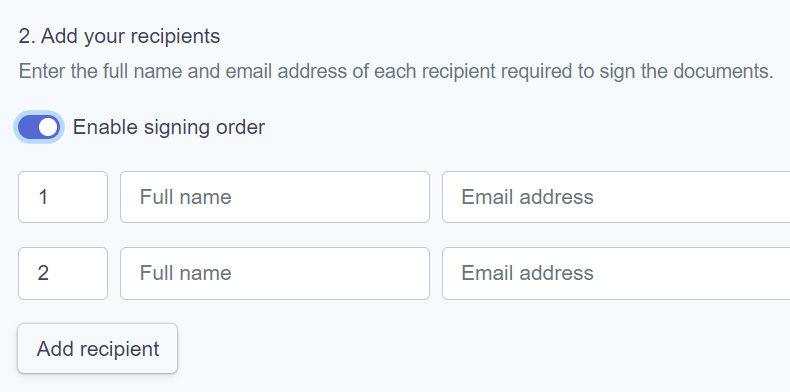
Optionally, enabling signing order will send the document in the order specified.
E.g. After the recipient with order number 1 signs the document, the recipient with order number 2 will receive the document to sign. This is mainly beneficial for documents that need to be signed in a specific order.
Note: If you need to remove a recipient, click on Options next to the recipient to remove, and click Remove recipient.
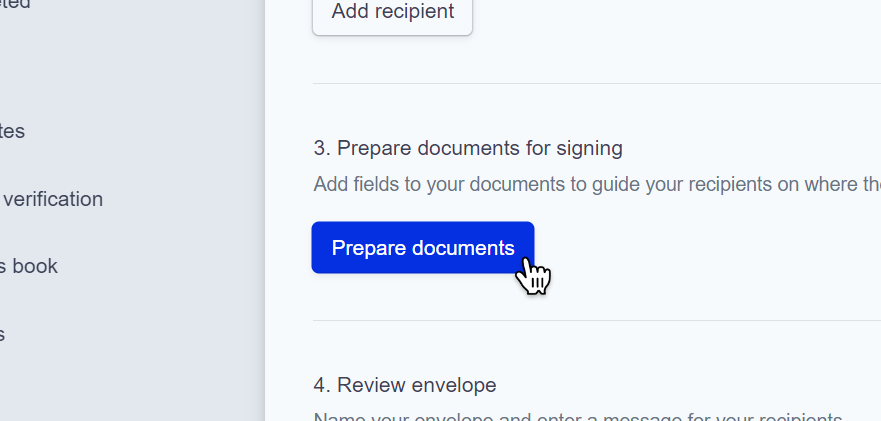
Once you are satisfied with the recipients and the signing order, click Prepare documents to implement the eSignature on the document.
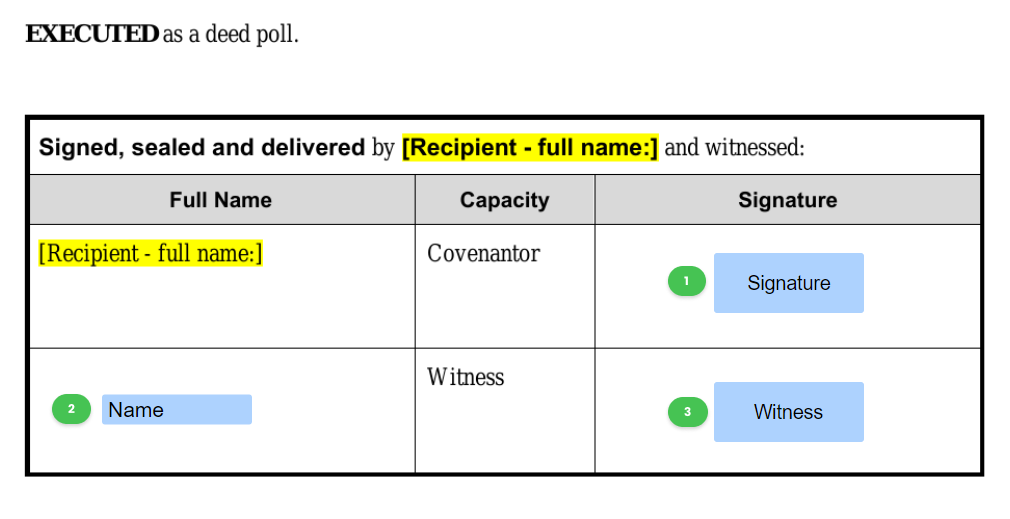
To prepare your document for eSignatures, use the fields in the left-side navigation to indicate to the recipient where to enter details.
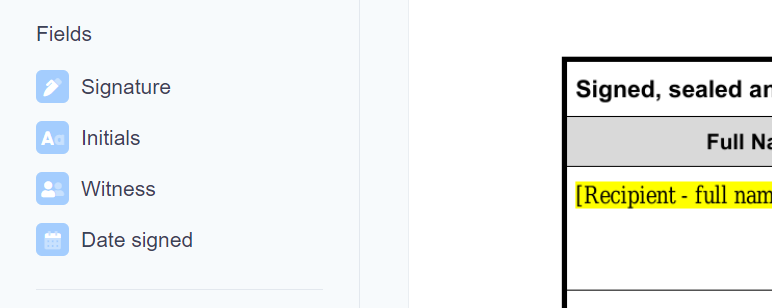
Drag and drop a field to the corresponding location in the document.
For example, in this document:
- The Blue Signature box is where a recipient will sign the document.
- The Blue Name box is where a witness can enter their name.
- The Blue Witness box is where a witness will sign, and enter their name and email for a copy of the signed document.
Once you are satisfied with the prepared document, click Save changes in the top right.
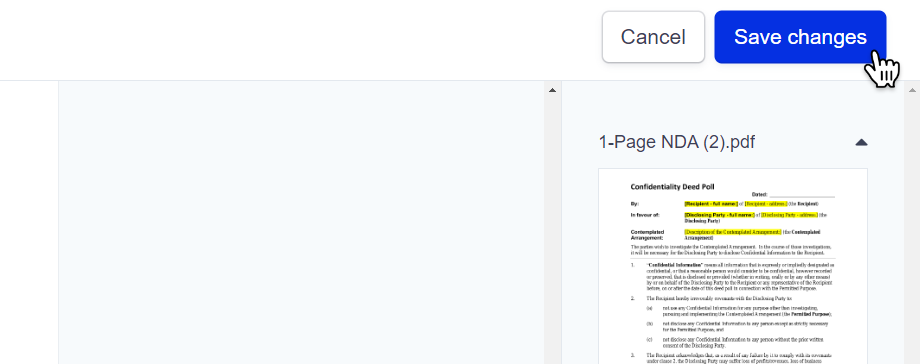
After preparing the document, you will be redirected back to the previous page.
Take the time to review the eSignature envelope:
- Envelope name - this will be the Email subject line and the form will be referred to.
- Message to recipients - this will be the message (body of the email) that will be sent to you client. You can include instructions or contact details to make the signing process easier for your client.
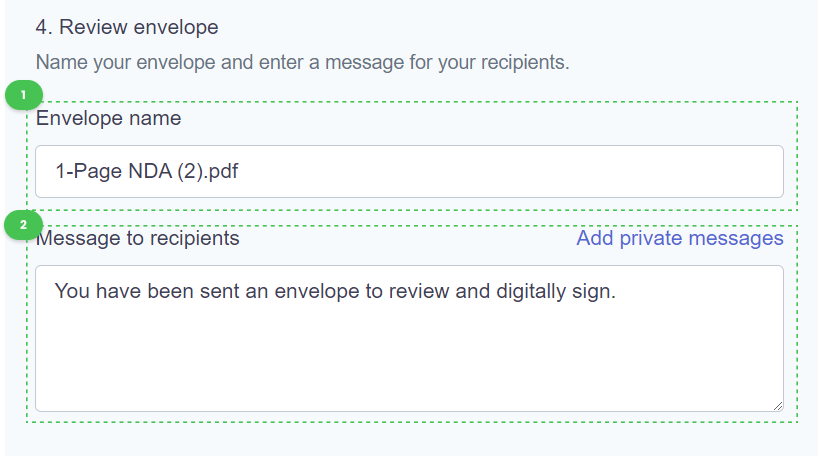
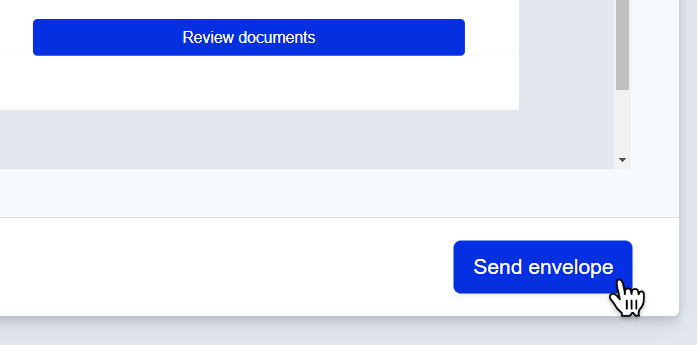
When you are satisfied with the prepared document, the envelope name and the envelope message, click Send envelope underneath the Email preview.