Have you ever written the perfect clause and wanted to share it with your team? With Clause Bank from Smarter Drafter, you can centralise your practice know-how in a single location, making it instantly accessible from within Microsoft Word.
Smarter Drafter’s precedent automation has transformed initial legal document drafting, crafting courtroom-ready files in a fraction of the time. Yet, each matter requires unique adjustments, typically done in Microsoft Word. The new Clause Bank feature via the Smarter Drafter Word Add-in streamlines this final step.
Topics covered in this article:
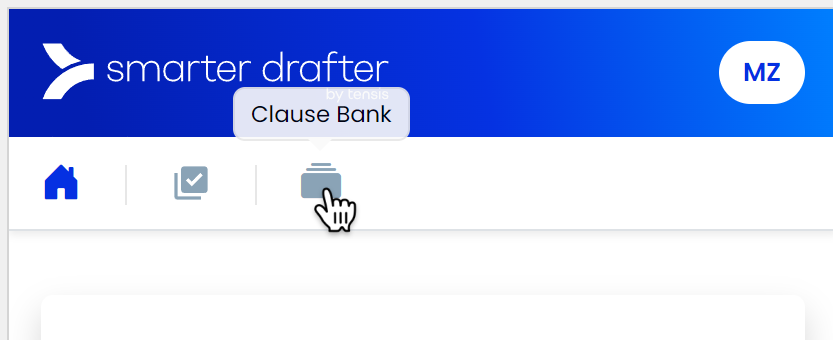
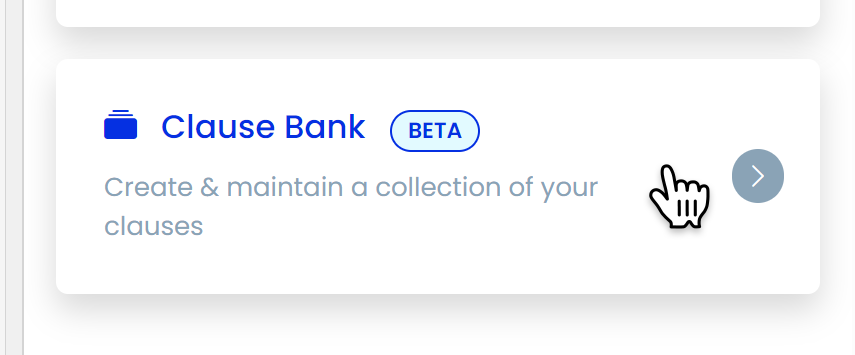
Accessing the Clause Bank
The Clause Bank is now available from the Smarter Drafter Add-in for Word. To access, first make sure the Word Add-in is installed on your machine and you are logged into the add-in from Microsoft Word.
Watch the training video to learn how to Install the Word add-in.
If this is your first time logging in to the Clause Bank or if you have not made any clauses previously, the Word Add-In panel should display the following message:
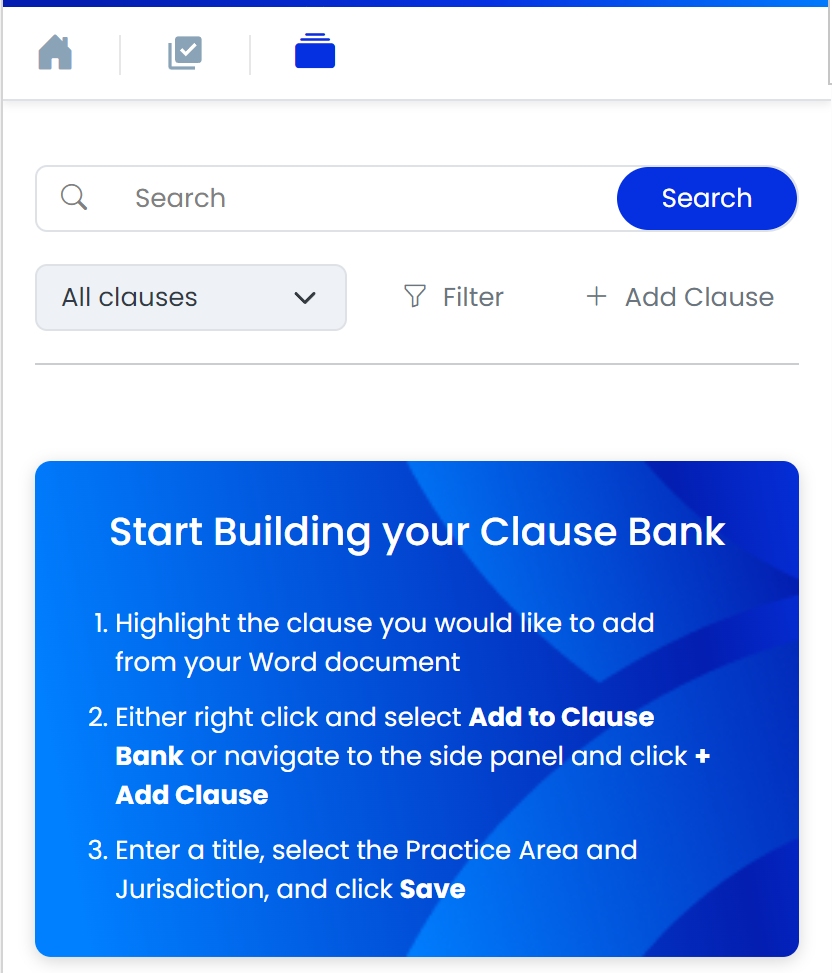
Otherwise, the clauses that you have previously created will be shown.
Learn more about the Smarter Drafter Word Add-In.
Navigating the Clause Bank
The main interface for the Clause Bank looks like this:
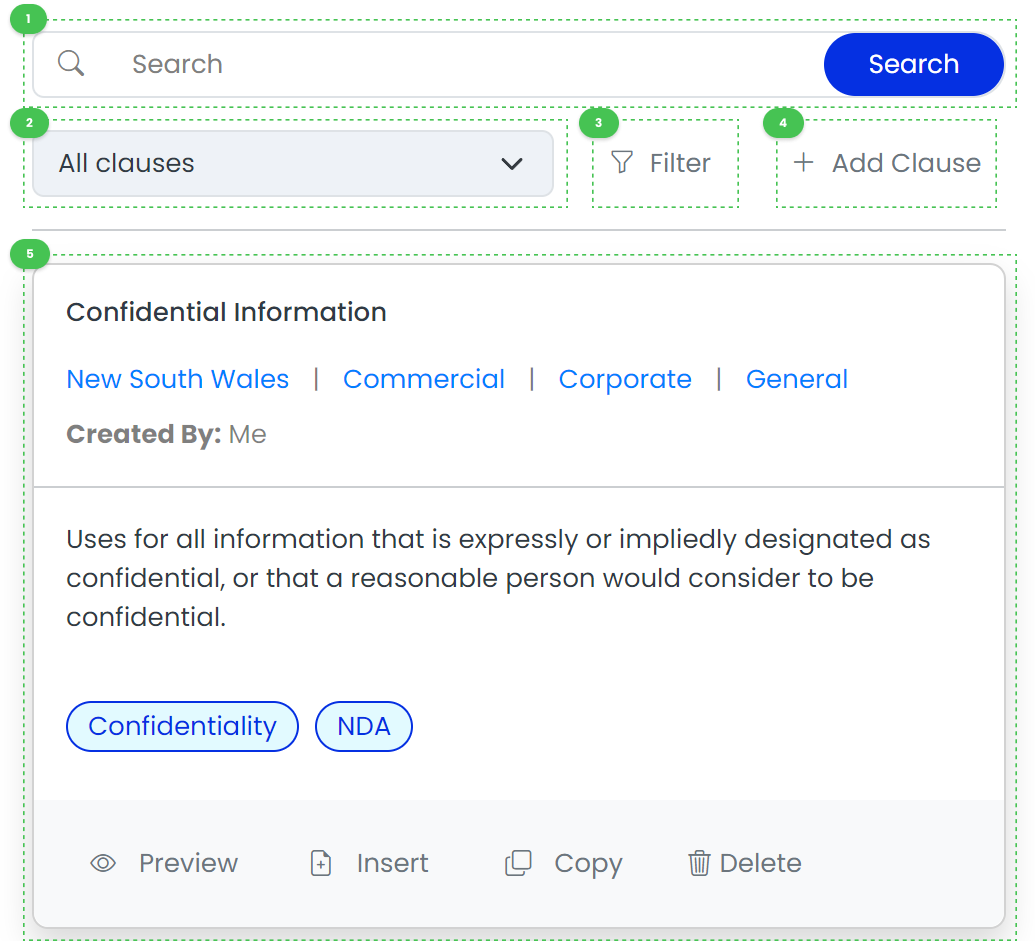
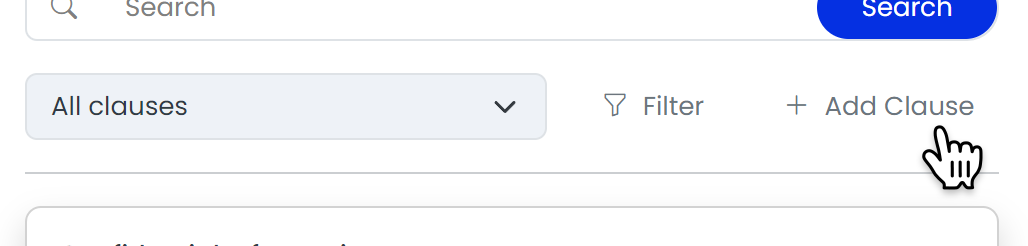
- Search for clauses:
- Clauses will firstly be referenced by the source selected and any filters that are applied.
- The word or phrase searched will be matched to the content, such as the clause title and description.
- Select the source of the clauses that are shown:
- My clauses will only show clauses created by you.
- My firm will show clauses created by you and other members of your firm.
- All clauses will show all clauses that you and all other members of your firm have created.
- Filter clauses by jurisdiction and/or practice areas.
- Filtering by jurisdiction(s) will only show clauses within the matching jurisdiction(s).
- Filtering by practice area(s) will only show clauses within the matching practice area(s).
- Create a new clause for you and your firm.
- A preview of your selected clause will be shown here.
Adding a Clause
The Clause Bank allows for custom clauses to be added to your personal clause library, making it easy to efficiently re-use clauses.
In a Word document with text, and with the Clause Bank open in the Smarter Drafter Word Add-In panel, highlight the content in the document you would like to make into a new clause.
Watch the training video to learn how to Add new clauses to the Clause Bank.
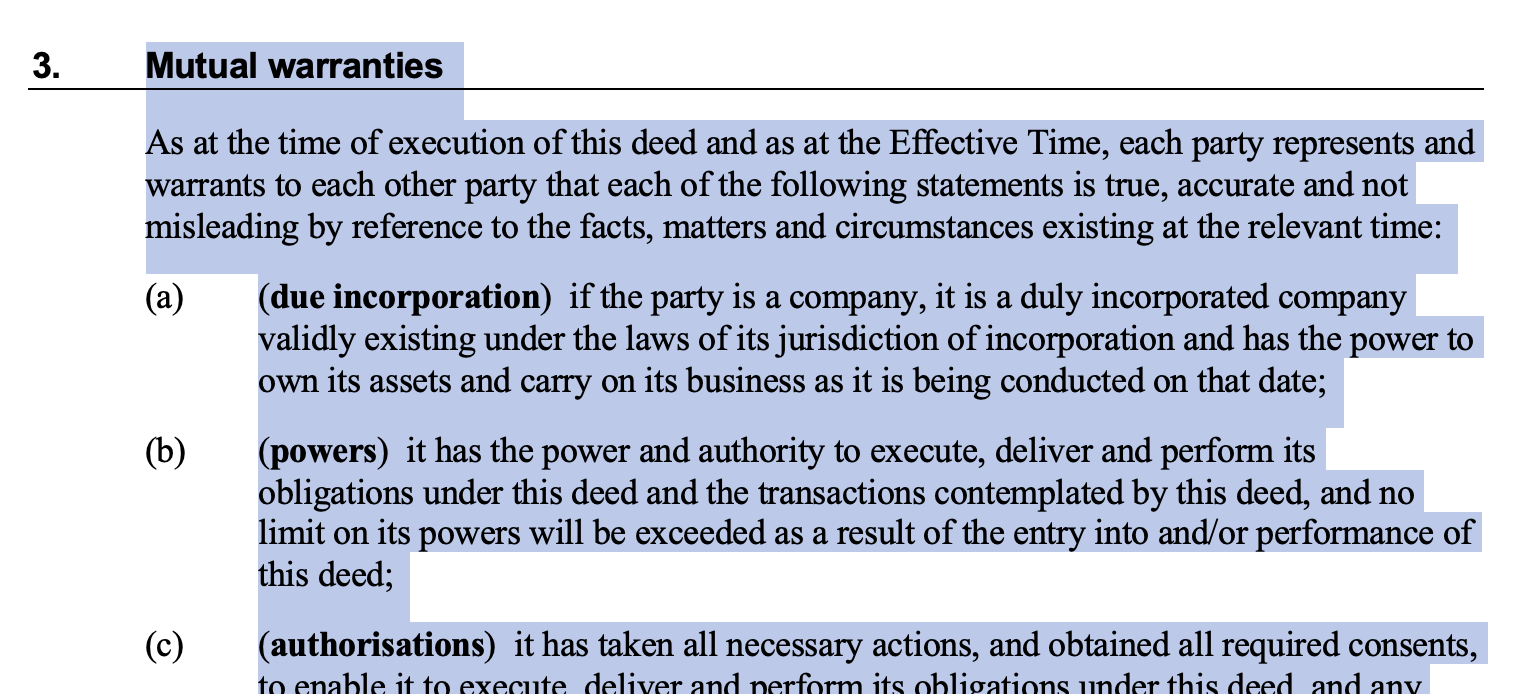
Note: You can highlight tables, lists and graphics to add to your clause. You are not limited to text, and the fonts and styles will be saved to the clause as well.
Click Add Clause in the Word Add-In panel.
Note: If you try to add a clause with no text highlighted in the Word document, you will get the the following error:
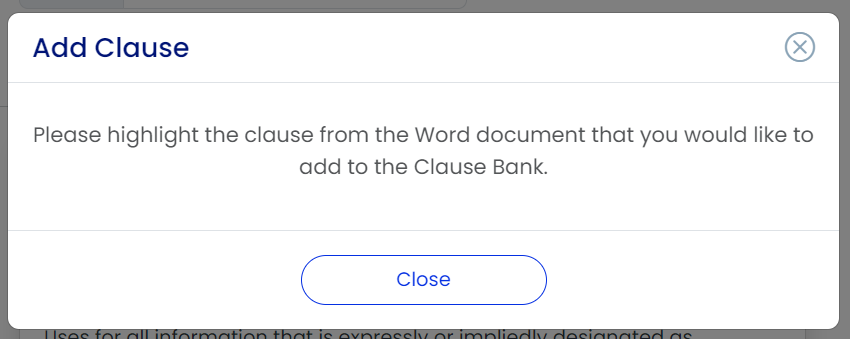
Just highlight the text you want to add and repeat the above steps.
The Add Clause side panel will appear in the Word Add-In.
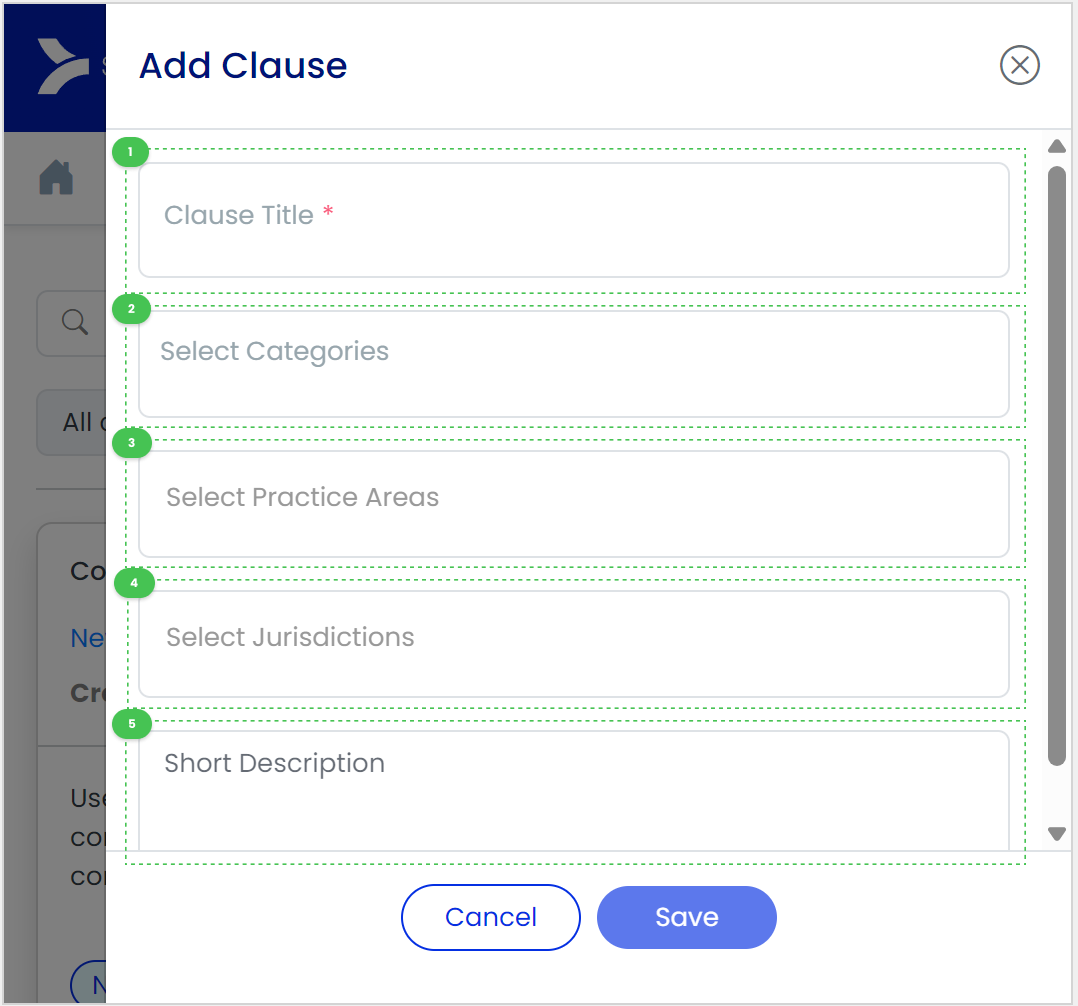
- The Clause Title is required and is what your clause will be named. This does not have to be unique, however, giving it a unique name will help you find it when you search.
- The Categories are optional, completely custom and customisable. They are used to organise and group clauses outside of Practice Areas and Jurisdictions. For example, a category could be "NDA", and the clauses under the "NDA" category are commonly used when creating a confidentiality agreement.
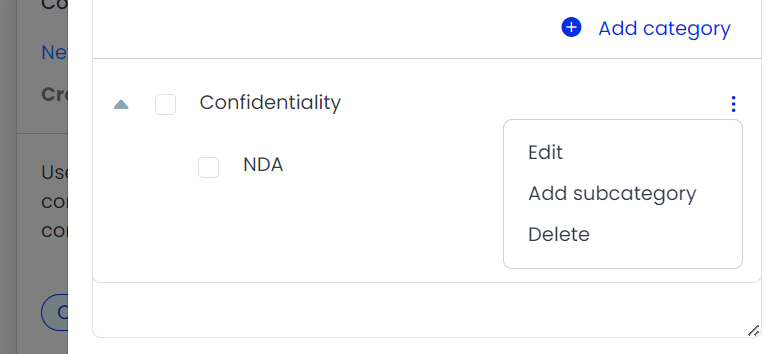
Categories are multi-level, so a category can have sub-categories and those sub-categories can have further sub-categories. You can also change the name of a category by clicking the three dots and selecting Edit. - Practice Areas are not required and are used to assign one or more practice area(s) for your clause from a pre-defined list of practice areas. The practice area(s) can then be used as a filter when searching for clauses.
- Jurisdictions are not required and are used to assign one or more jurisdiction(s) for your clause from a pre-defined list of jurisdictions. The jurisdiction(s) can then be used as a filter when searching for clauses.
- The Short Description is not required and is used to show a simple description of the clause, without having to preview or insert the clause.
After the necessary details are filled out, click Save to add your custom clause to your clause library.
Note: The clause that is added will be accessible to other members of your firm.
Inserting a Clause into a Document
Locate the clause you would like to insert into your document. If you have trouble locating the clause you would like to insert, refer to Navigating the Clause Bank.
Watch the training video to learn how to Insert a clause.
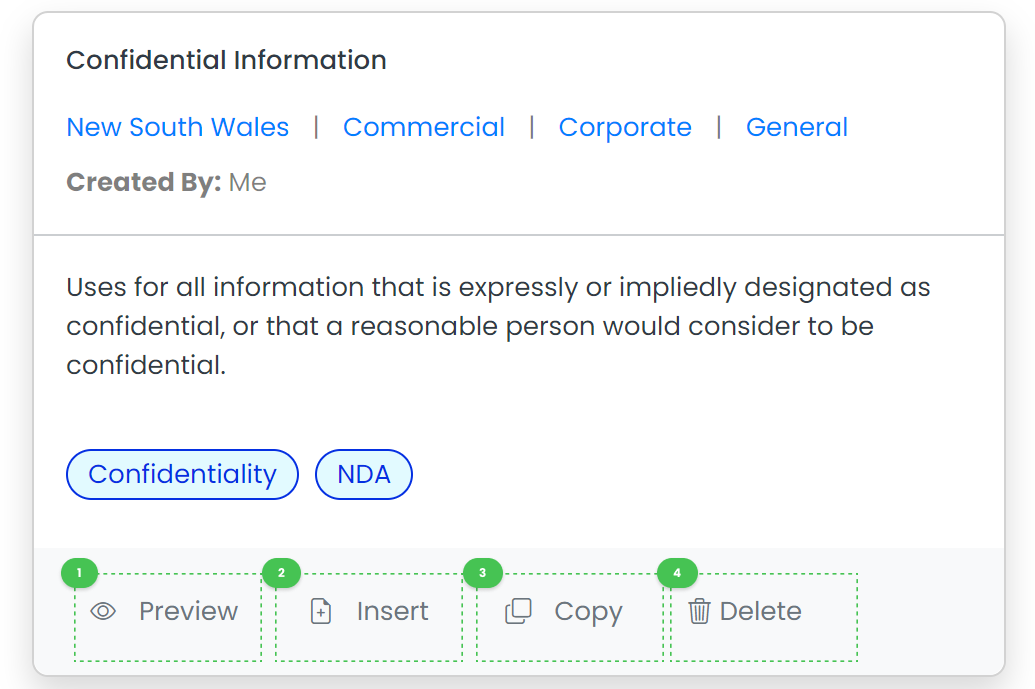
- Preview will let you preview the clause without inserting it into the document. The preview function is useful for viewing the clause content, as only the name and short description are available from the Clause Bank table.
- Insert will insert the clause into the document. The clause will be inserted either
- Where your cursor currently is in the document; or
- If you do not have your cursor in the document, the clause will appended to the bottom of the content in the document.
- Copy copies the clause to your clipboard, allowing for manual insertion into the document via copy and paste.
- Delete will delete the clause from your personal clause library and your firm's clause library.
Note: If you are not the owner of the clause, the Delete button will not appear on the clause.