The Email page in Settings is split into two sections: Sender Details and Templates. Here you can change many settings related to emails that get sent from Smarter Drafter. Examples of emails that get sent from Smarter Drafter: document delivery emails, intake form emails, and other emails sent to your clients if they use your retail forms.
Topics covered in this article:
Locating the Sender Details page
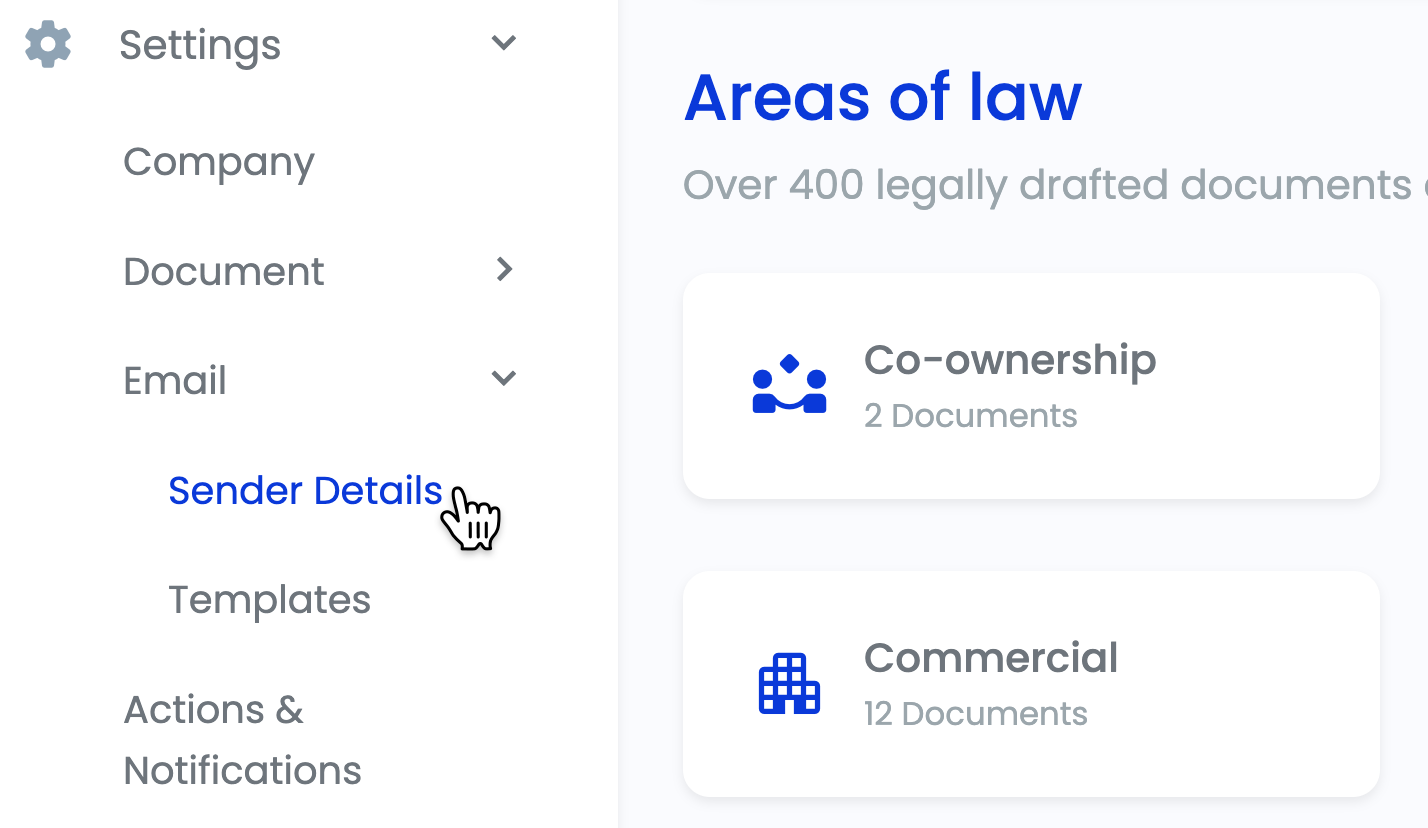
To access the Sender Details page, click on Settings, click Email, and then select Sender Details from the dropdown menu.
Sender Details settings you can change
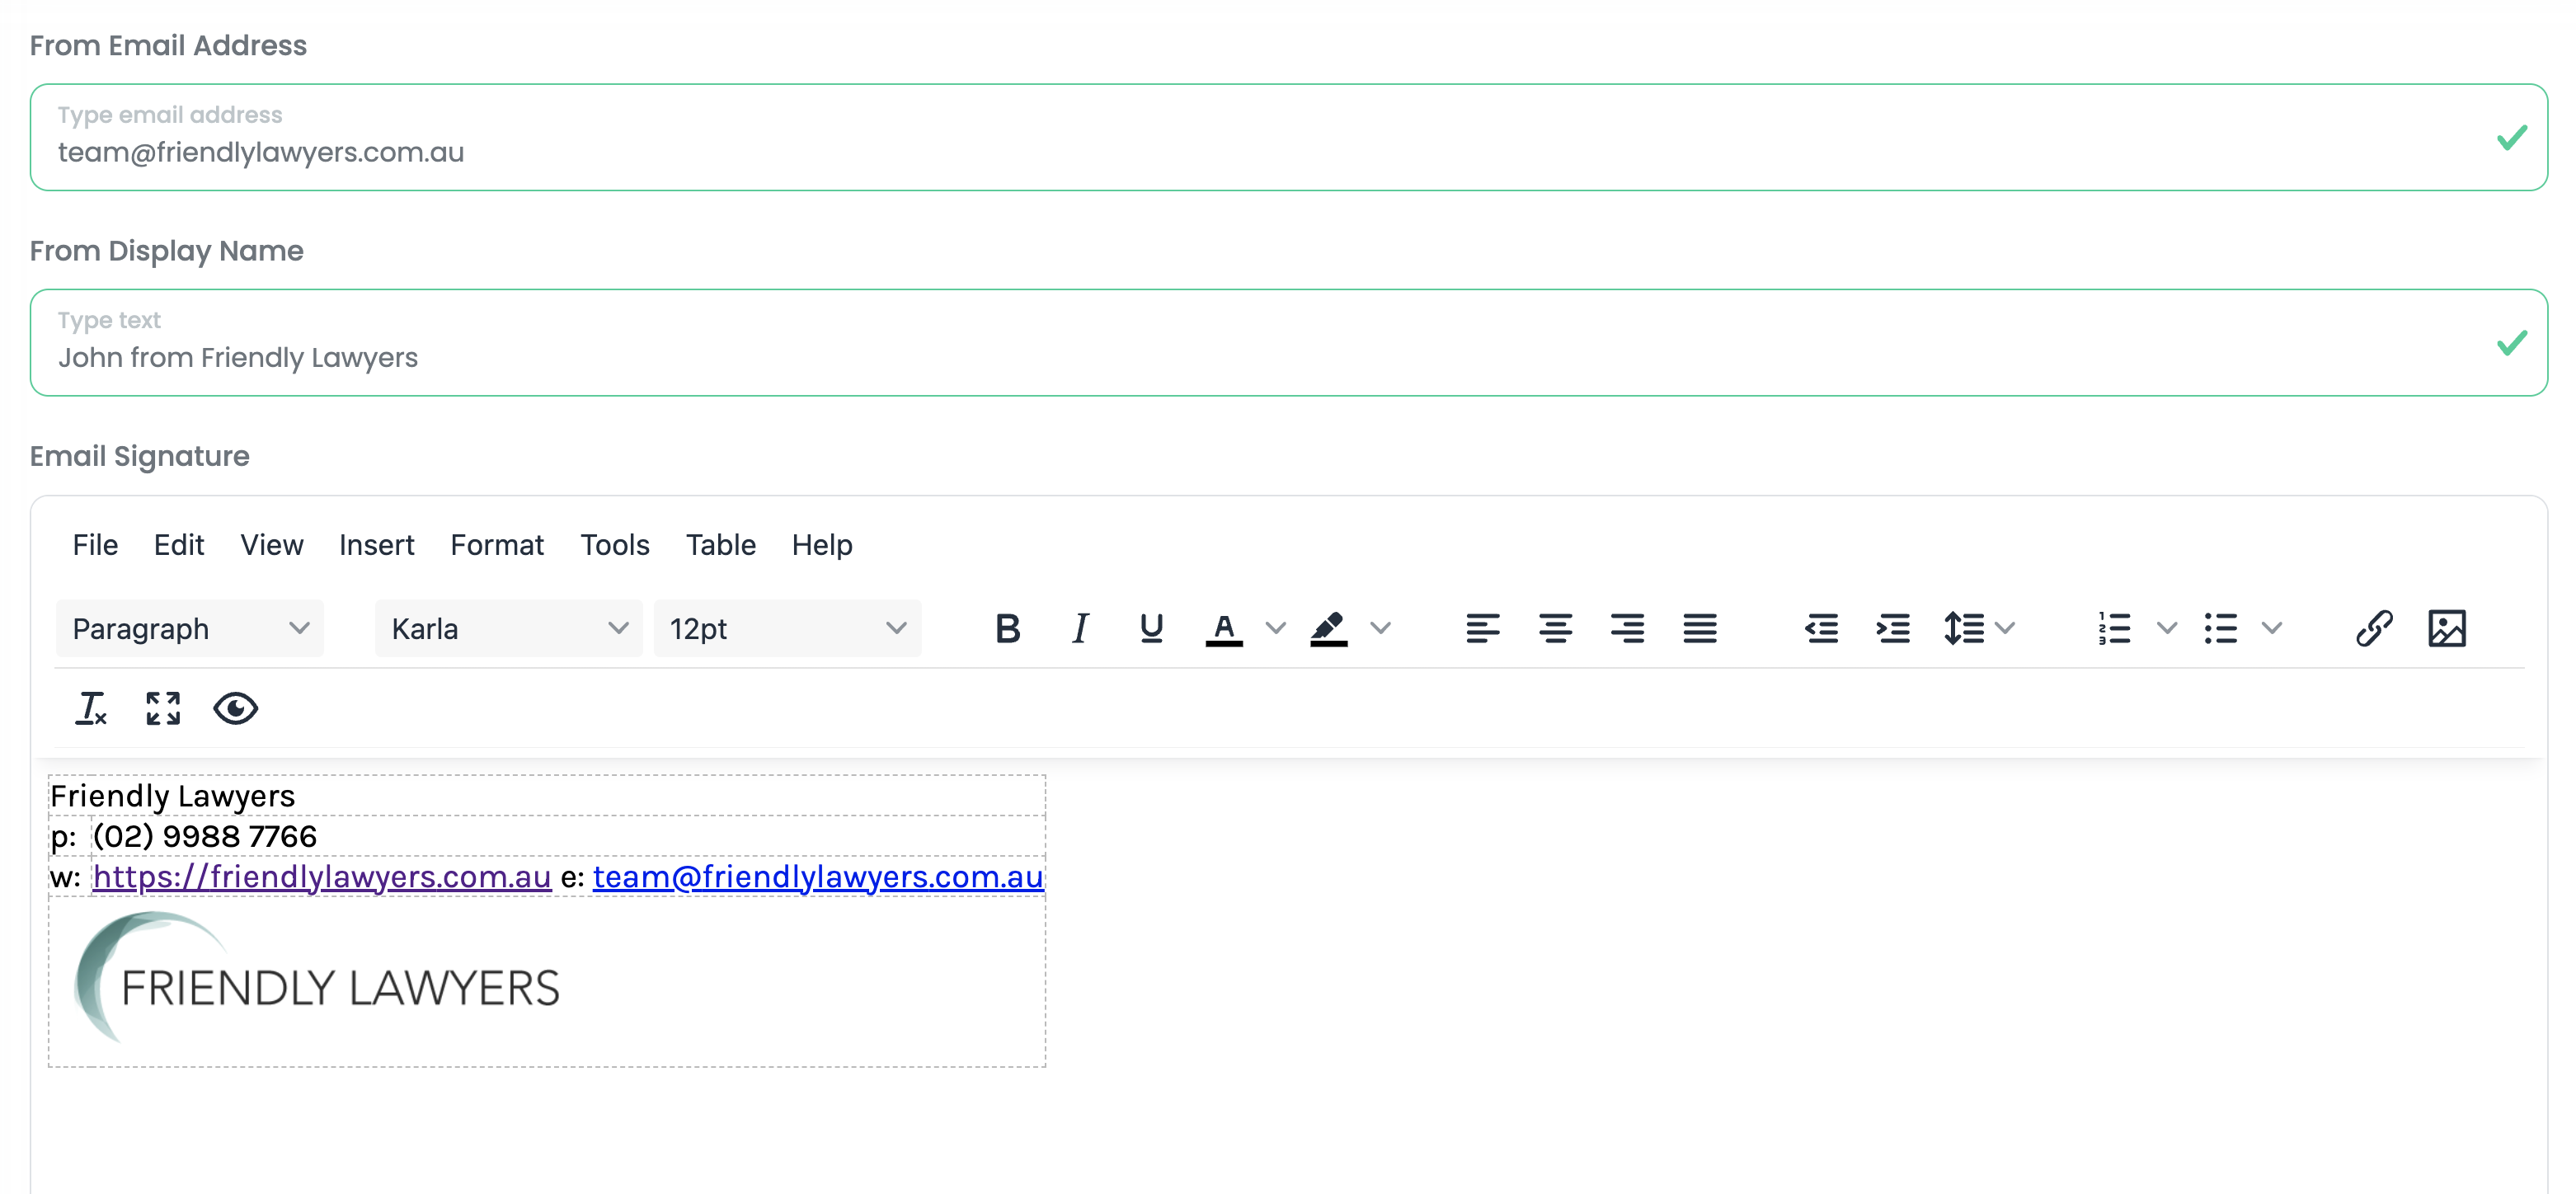
On the Sender Details page you can change the following:
- From Email Address: View and update the "send from" email address that appears on emails that come from Smarter Drafter.
- From Display Name: View and update the "send from" display name that appears on emails that come from Smarter Drafter.
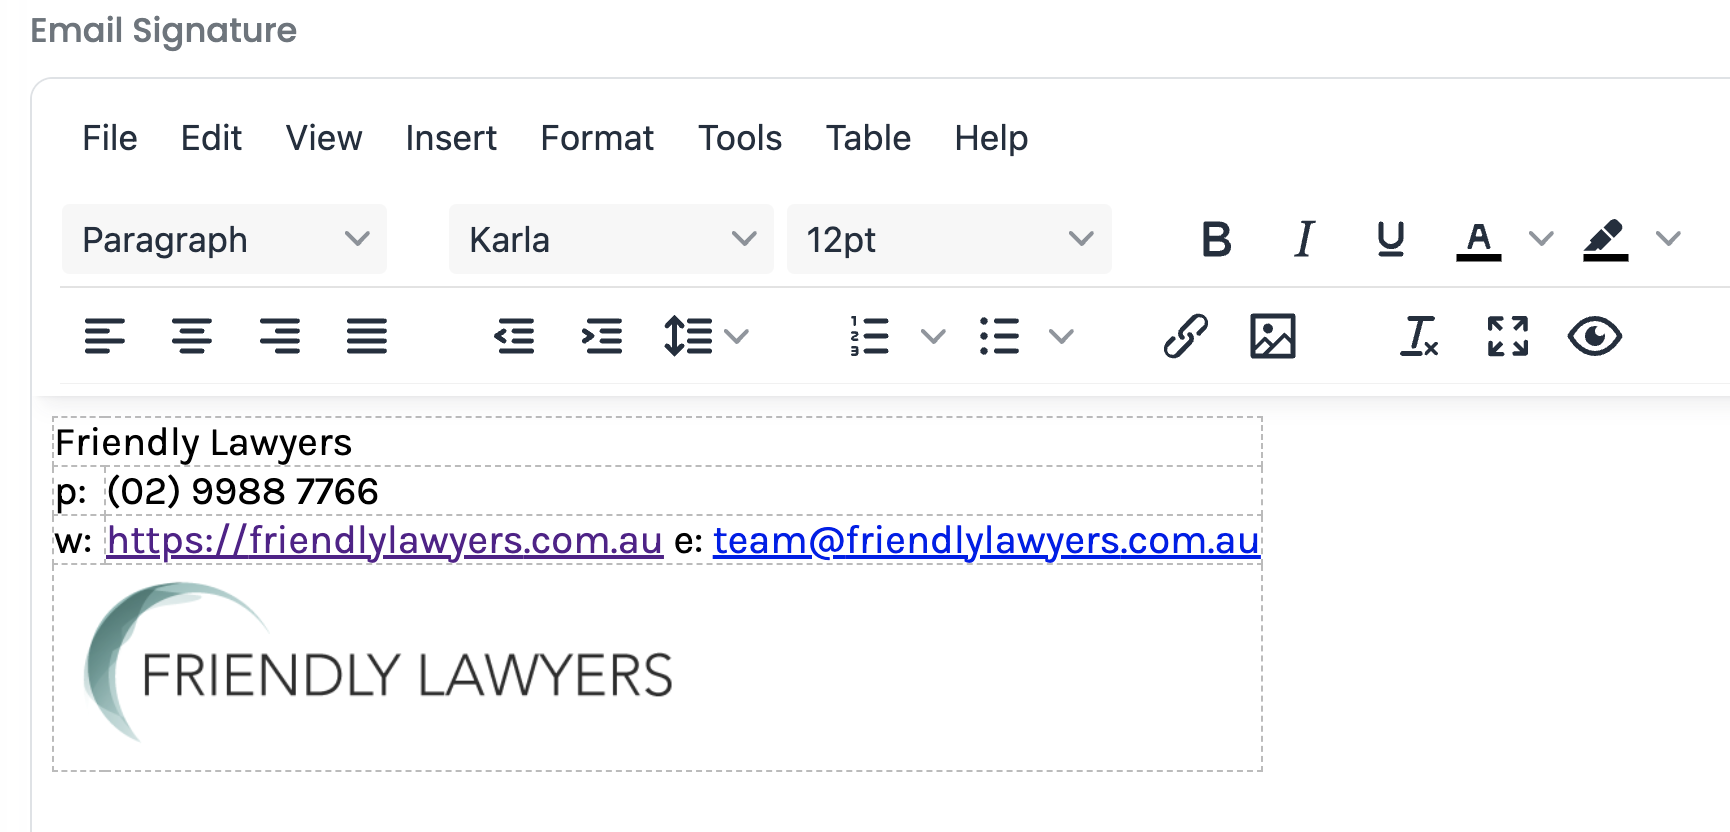
- Email Signature: View and update the "send from" email signature that appears on emails that come from Smarter Drafter. Changing your email signature is recommended for advanced users so please read the Updating your Email Signature section.
Changing Sender Details settings
To change any of the settings on this page, type into the relevant text field to update your information. A green tick will appear to confirm your entry. In this example, we're using a fictional law firm called "Friendly Lawyers" to demonstrate how you can personalise your account.
When you're done making changes, click Save at the bottom of the page.

Updating your Email Signature
Updating the Email Signature can be tricky if your firm doesn't have an email signature to begin with. In that case, we recommend using either of these free tools to create a professional looking signature:
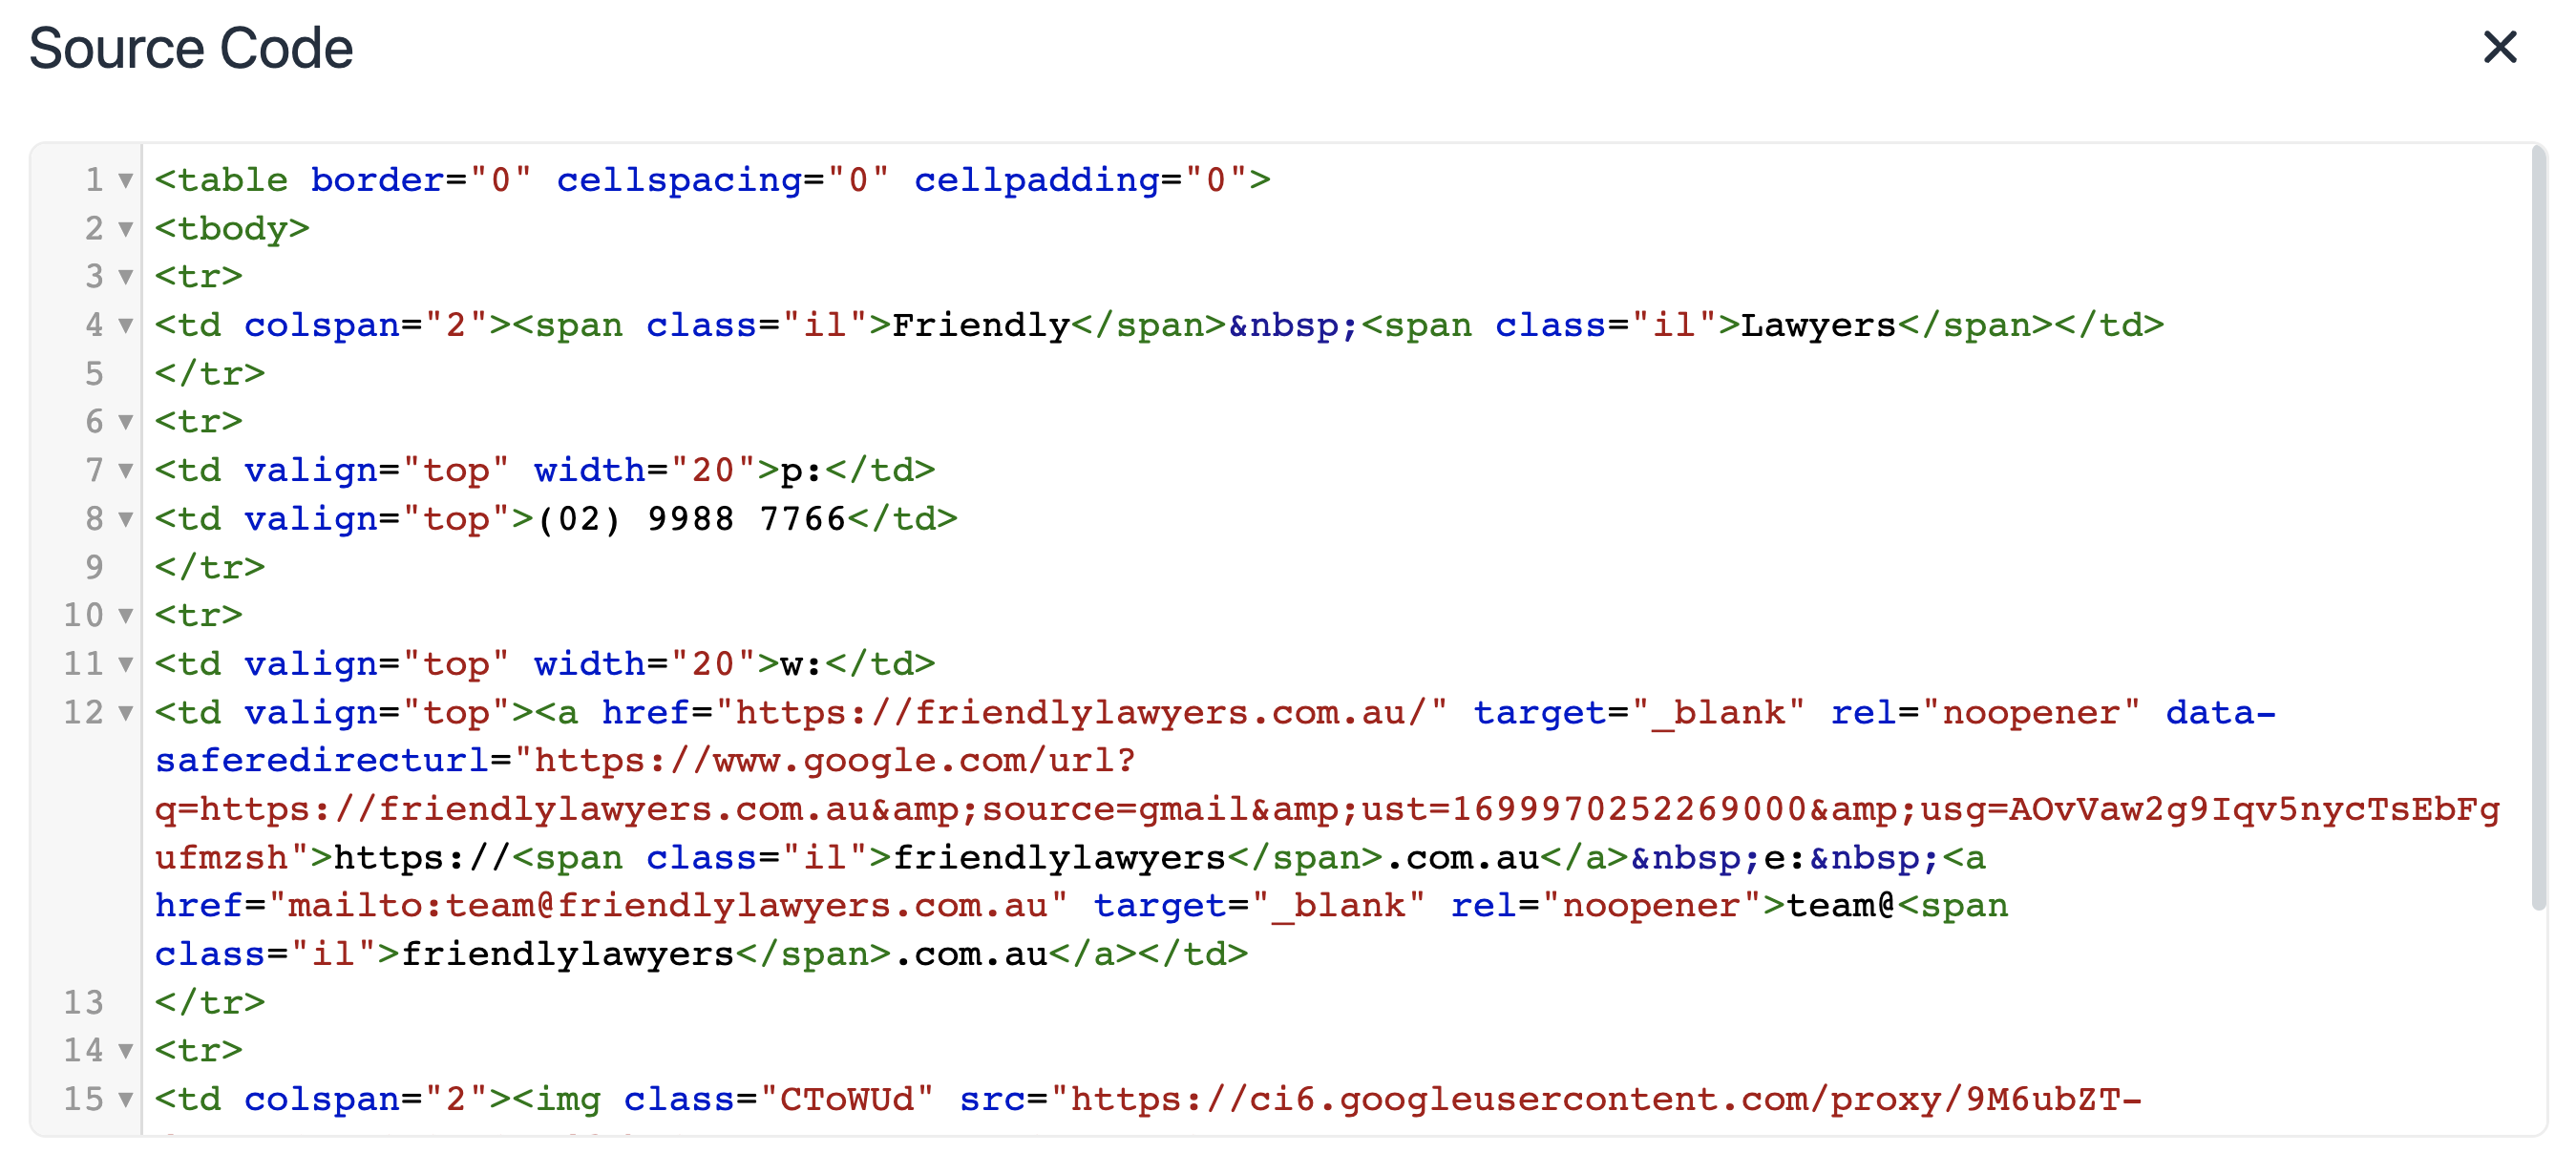
Once you've made your email signature just copy and paste it into the Email Signature editor, or copy the HTML code into the code block which you can find under Tools > Source code.
Alternatively, you can use the editor to create your signature by changing the font style/size/colour, as well as formatting, links, and/or adding images.
If your firm already has an email signature in Gmail/Outlook/different email service provider, then it's as easy as copying and pasting it into the Email Signature editor.
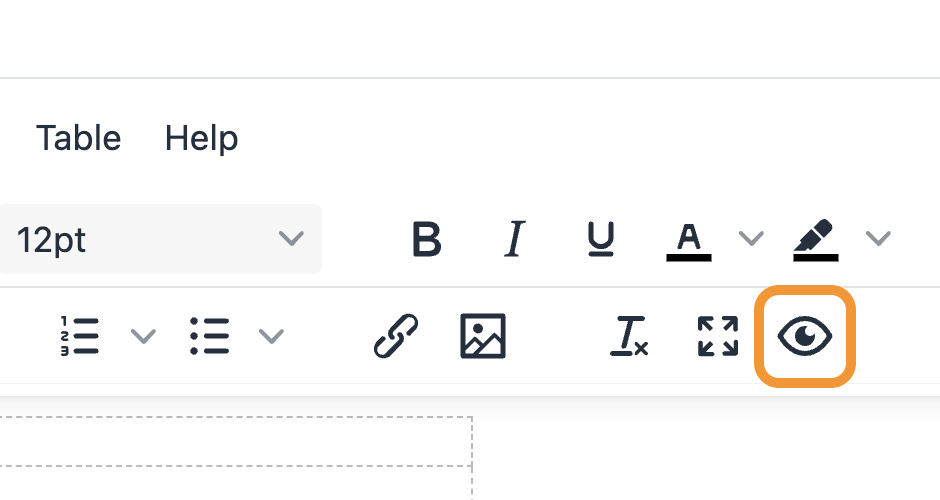
To preview what your email signature looks like, click the Eye icon, or navigate to File > Preview.
Locating the Templates page
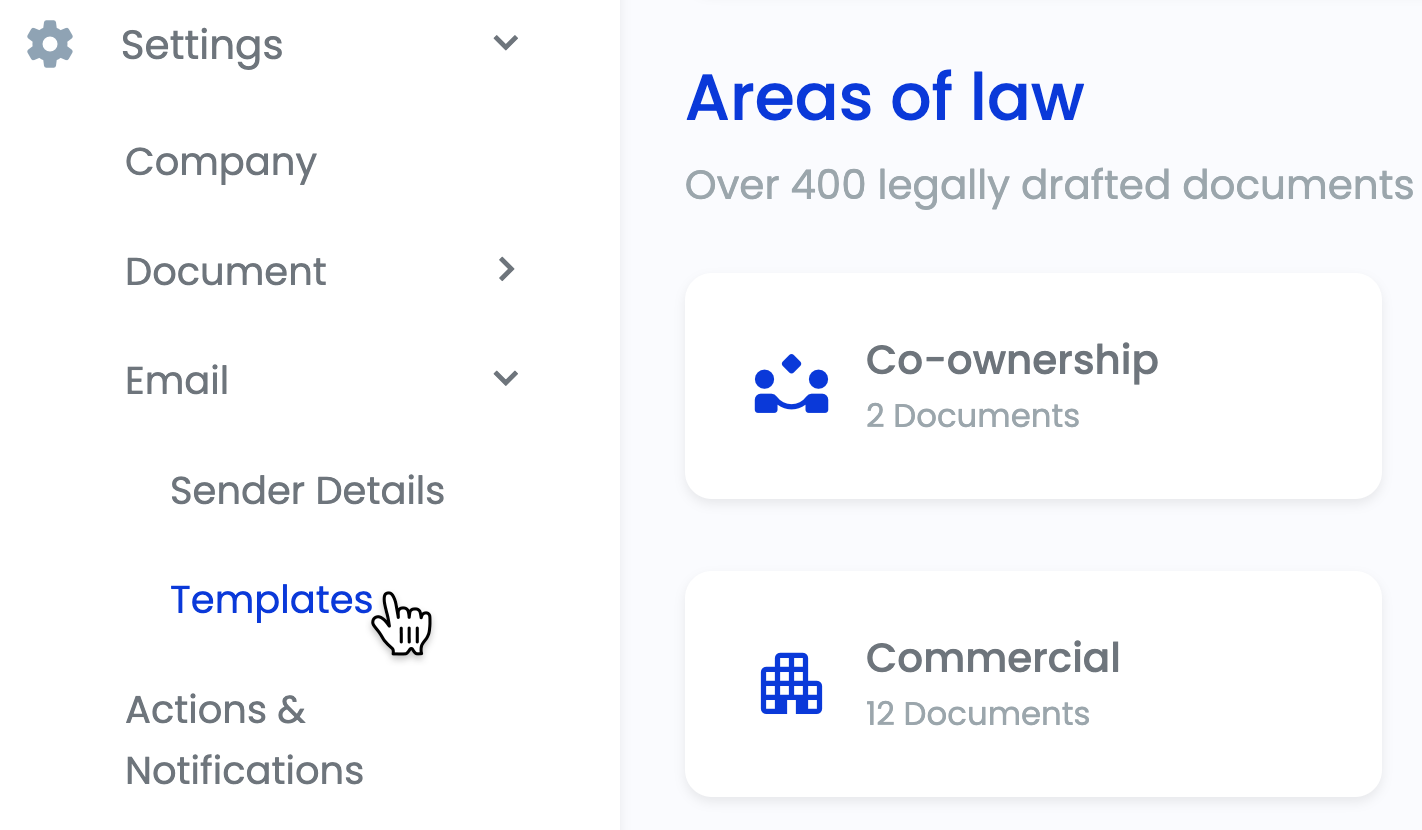
To access the Templates page, click on Settings, click Email, and then select Templates from the dropdown menu.
Note: Editing Templates is only recommended for advanced users who have experience in creating HTML emails.
Templates you can change
On the Templates page you can change the following:
- Document Delivery - Retail Version: Email sent to you or your client who has made a retail form submission. This email contains the Submission details and a link to download the documents.
- Document Generation Failure to Client: Email sent to you or your client who has made a retail form submission. This email informs them that a problem has been encountered with generating their document.
- Form Resume URL to Client: Email sent to your client who has made a retail form submission. This email contains a link to complete their Submission.
- Intake Form to Client: Email sent to your client, inviting them to submit an Intake Form. This email contains a link to the Form and basic instructions on how to complete it.
- Intake Form to Owner: Email sent to your team member who sent the Intake Form invitation to the client. This email notifies them once the Intake Form has been submitted by the client. If the Intake Form was embedded, it will be sent to the email address specified in the Intake Form settings or, if that is not set, the account's Contact Email Address which you can edit in Sender Details.
- Payments Report: Monthly report sent to each company with a list of Retail Submissions during the previous calendar month. DEVELOPER ONLY
- Retail Form Notification to Complete: Email sent to your client who has begun a retail form. This email contains a link to complete their Submission if no activity is detected for 24 hours.
- Retail Notification Report: Sent to the Contact Email Address with a list of all of the Retail Users who started but failed to complete Submissions in the prior 24 hours. DEVELOPER ONLY
- Submissions Answers: Sent to the optional list of recipients containing a list of all of the questions and answers in a Submission. DEVELOPER ONLY
- Transaction Receipt: A receipt sent to the Retail User upon successful payment and submission of a Retail Form. DEVELOPER ONLY
Note: Email templates marked as DEVELOPER ONLY can only be edited by users who manage multiple companies. All other users will receive the following message "You do not have access to edit the template copy". Please get in touch with our team if you believe you should have access to these templates.
Email Template settings
You can make the following changes to the email templates:
- From Name: View and update the "send from" display name that appears on this email.
- From Email: View and update the "send from" email address that appears on this email.
- Additional Recipients: Add additional recipients to this email. Also known as CC or "carbon copy". E.g. add your secretary, practice manager, or other colleague so they receive the email as well.
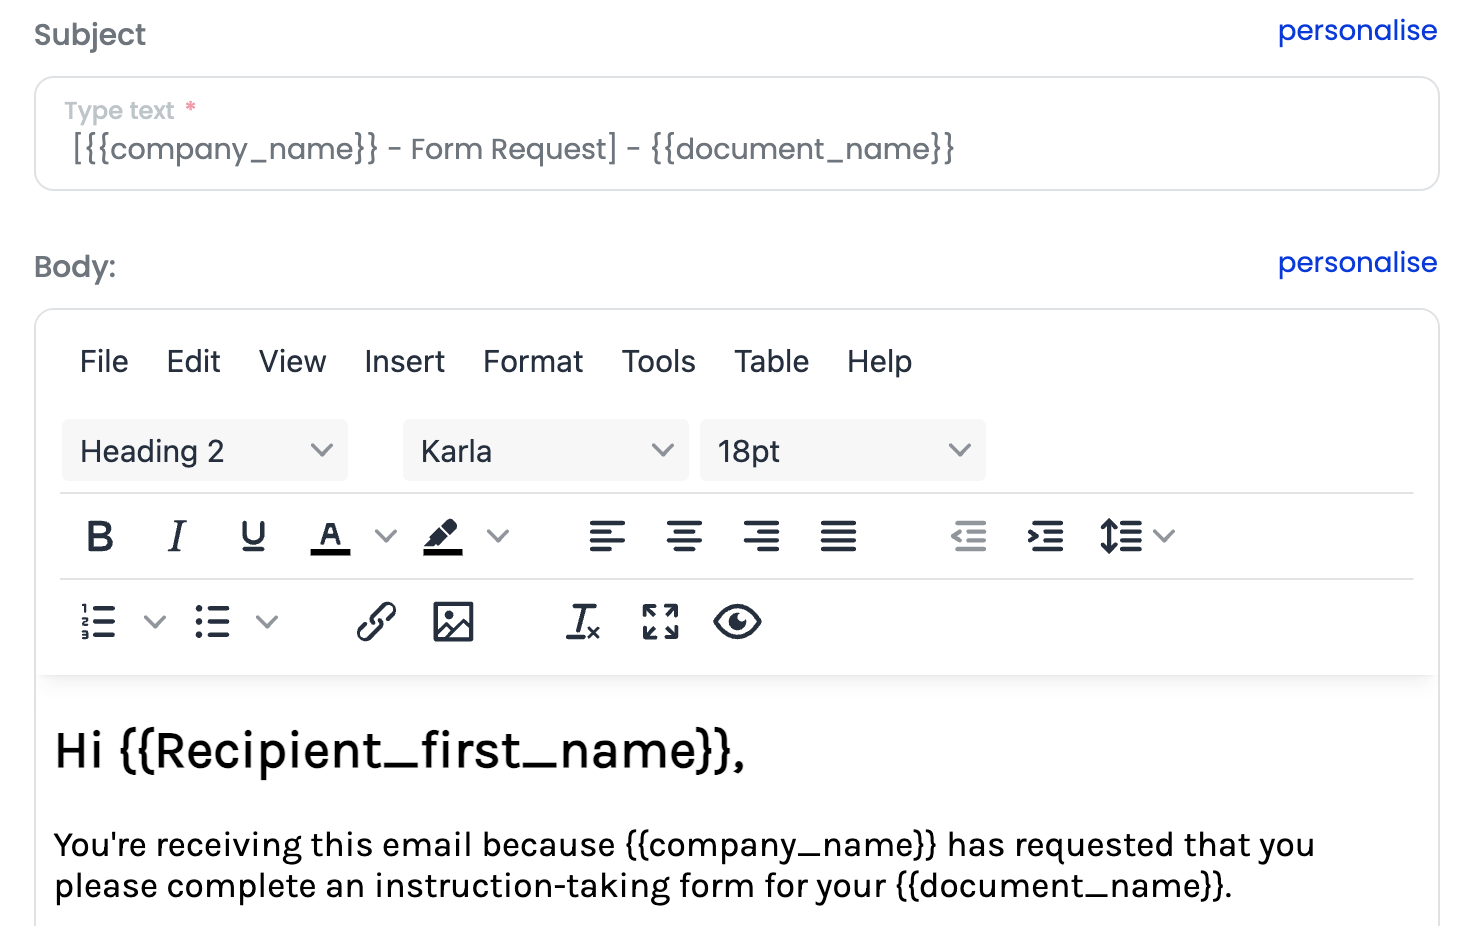
- Subject: View and update the subject line of this email. The subject line appears in your/your client's inbox. You want your subject line to be clear and concise.
- Body: View and update the content of this email.
Note: Click the personalise button to add tokens to your email. A dialog will open with the token type in the left column, and the token code in the right column. Click copy to save the code to your clipboard and then paste it into the subject or body of your email.
For example, if you want to add your client's name to the salutation, add the token to the email.
Changing the Templates
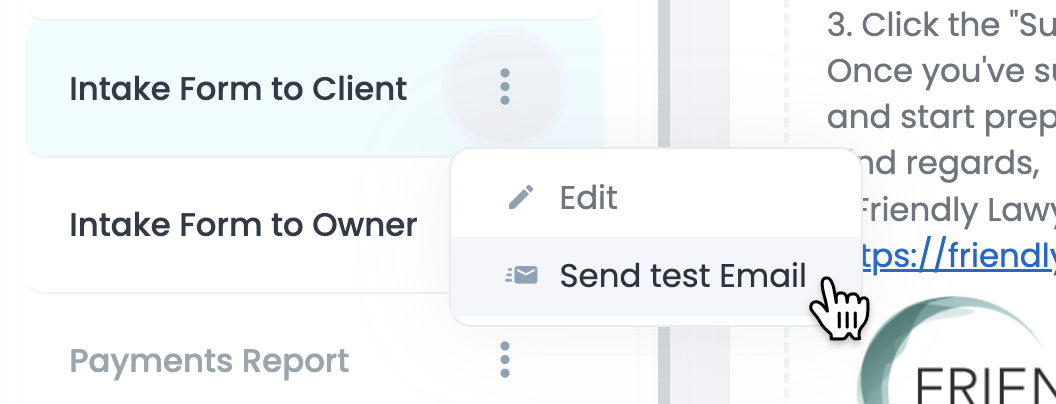
To change any of the templates on this page, find the relevant template, click on the three dots and select Edit.

Edit the From Name, From Email, Additional Recipients (CC), Subject, and Body in the email editor.
Make your changes in the email editor and click Save at the bottom of the page when you're done.
To preview your email template, click on the three dots next to a template and select Send test email.