The Actions & Notifications page in Settings allows you to control what happens after a form is submitted. You can view and update Submission Webhooks, Redirect URLs and control whether you receive Document Delivery emails.
Topics covered in this article:
Locating the Actions & Notifications page
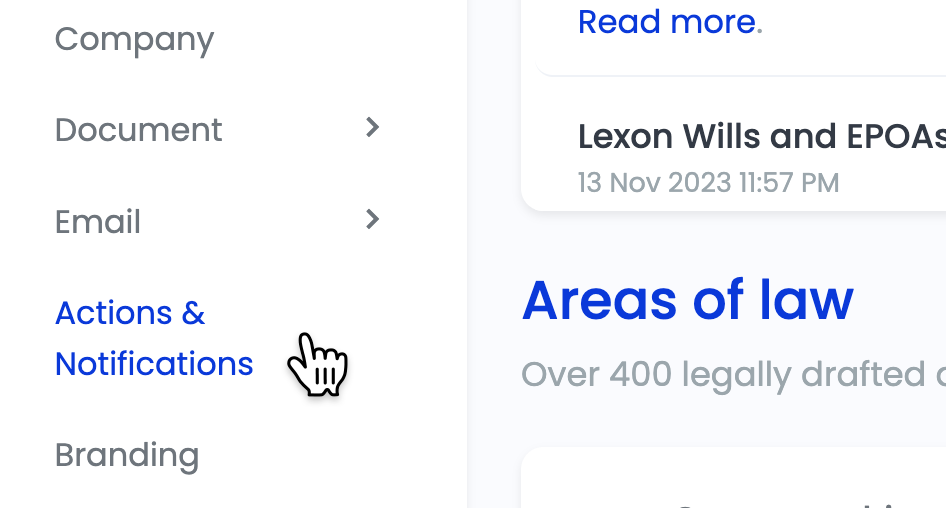
To access the Actions & Notifications page, click on Settings and select Actions & Notifications from the dropdown menu.
Submission Webhooks
Webhooks provide a way for different applications or services to communicate with each other in real-time. It's like a notification system that allows one application to send a message to another application when something specific happens. In the case of Smarter Drafter, there are two types of Webhooks:
- Submission Answers Webhook
- Submission Documents Webhook
Overall, Webhooks in Smarter Drafter facilitate the seamless exchange of information, ensuring that submitted answers and generated documents are shared and utilised by other applications efficiently.
Note: Changing Webhook settings is only recommended for advanced users and developers. Please get in touch with our team if you need assistance.
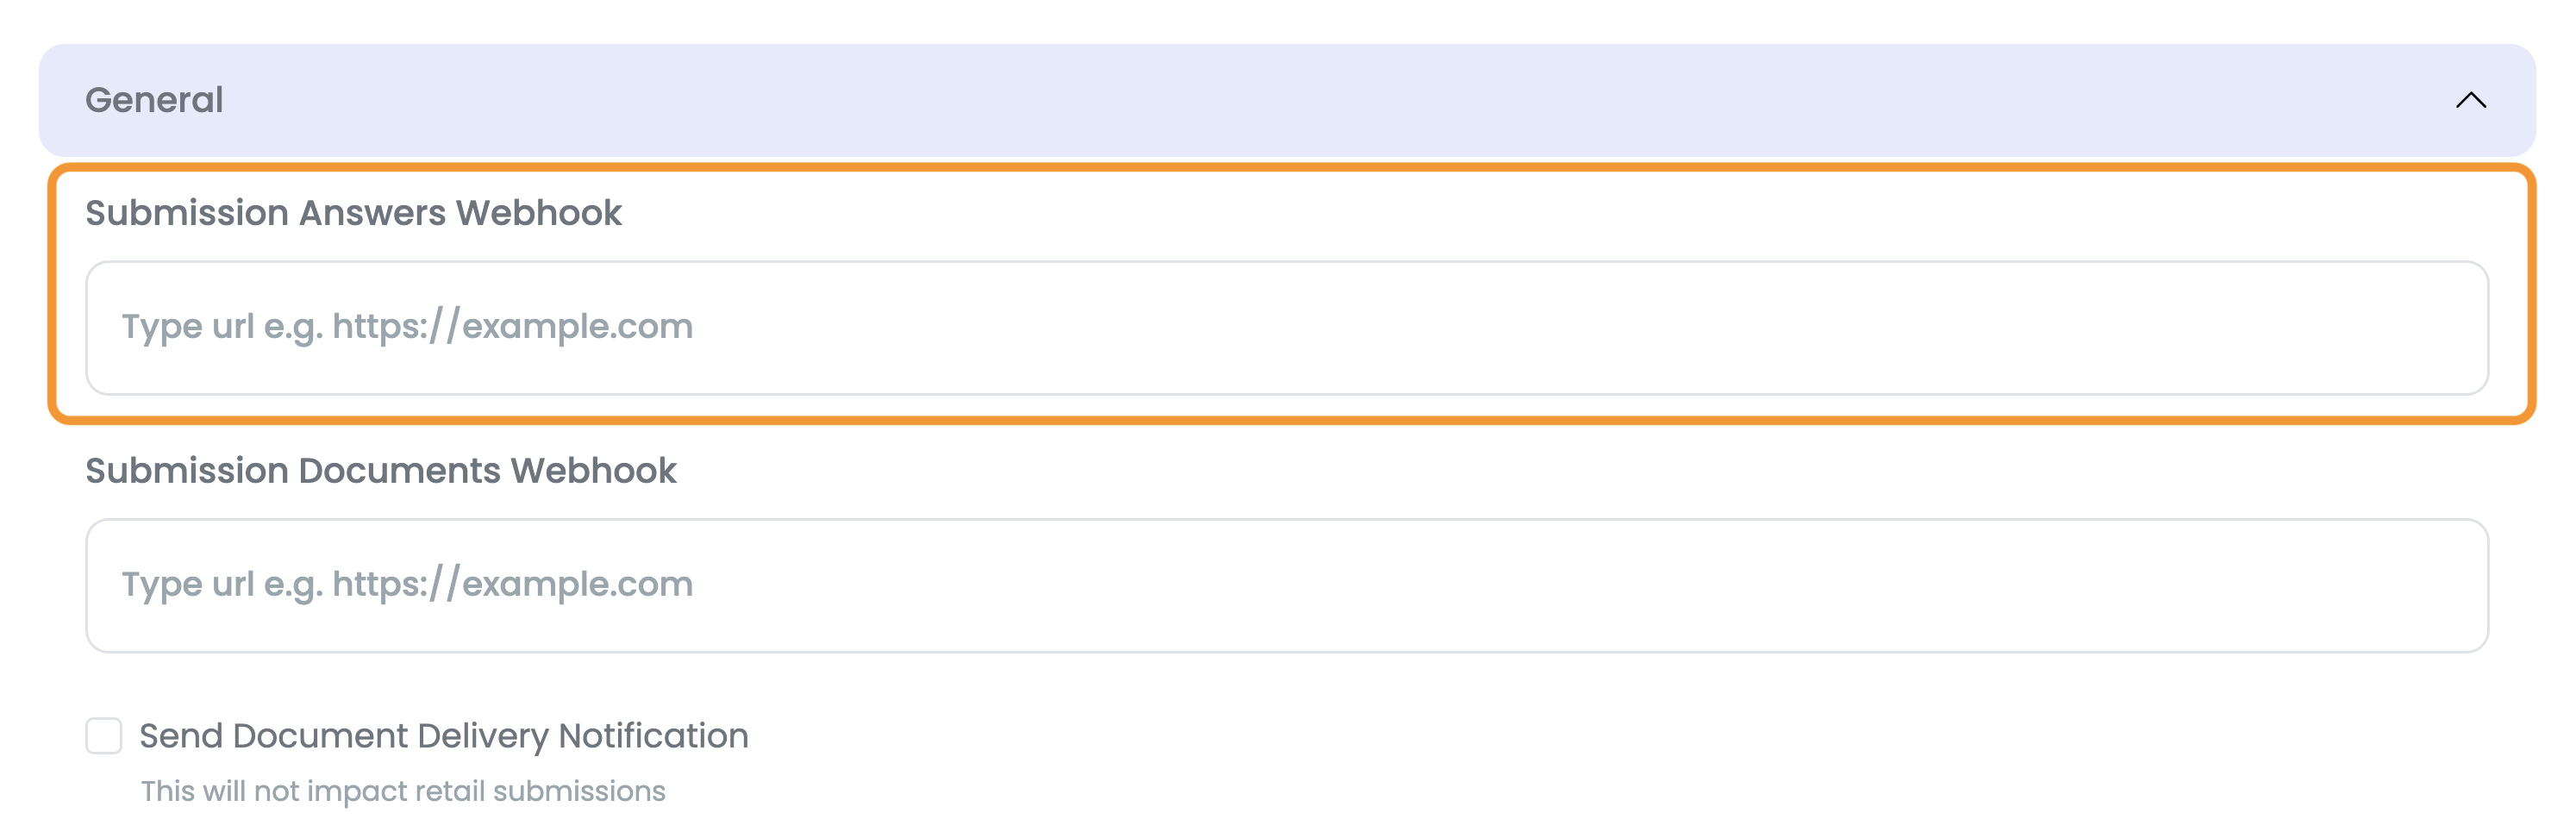
Submission Answers Webhook
The Submission Answers Webhook sends a JSON file that includes all the answers submitted by the end-user when they fill out a form. This allows other applications to receive and process the submitted answers automatically.
To send submission answers to a third party, paste the Webhook URL into the text field.
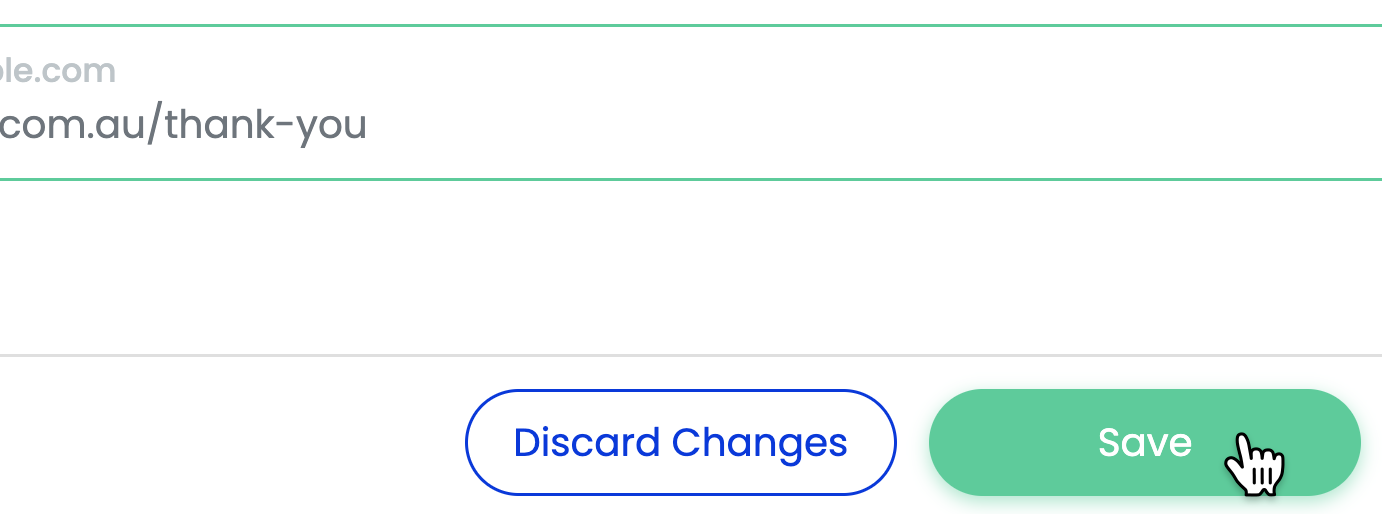
Press Save at the bottom of the page when you're done making changes.
Note: To use this feature, you must first create or acquire a valid Webhook URL address for establishing a connection. If you are sending your submission data to a Third Party Integration, you can locate your WebHook in your API or Settings Page.
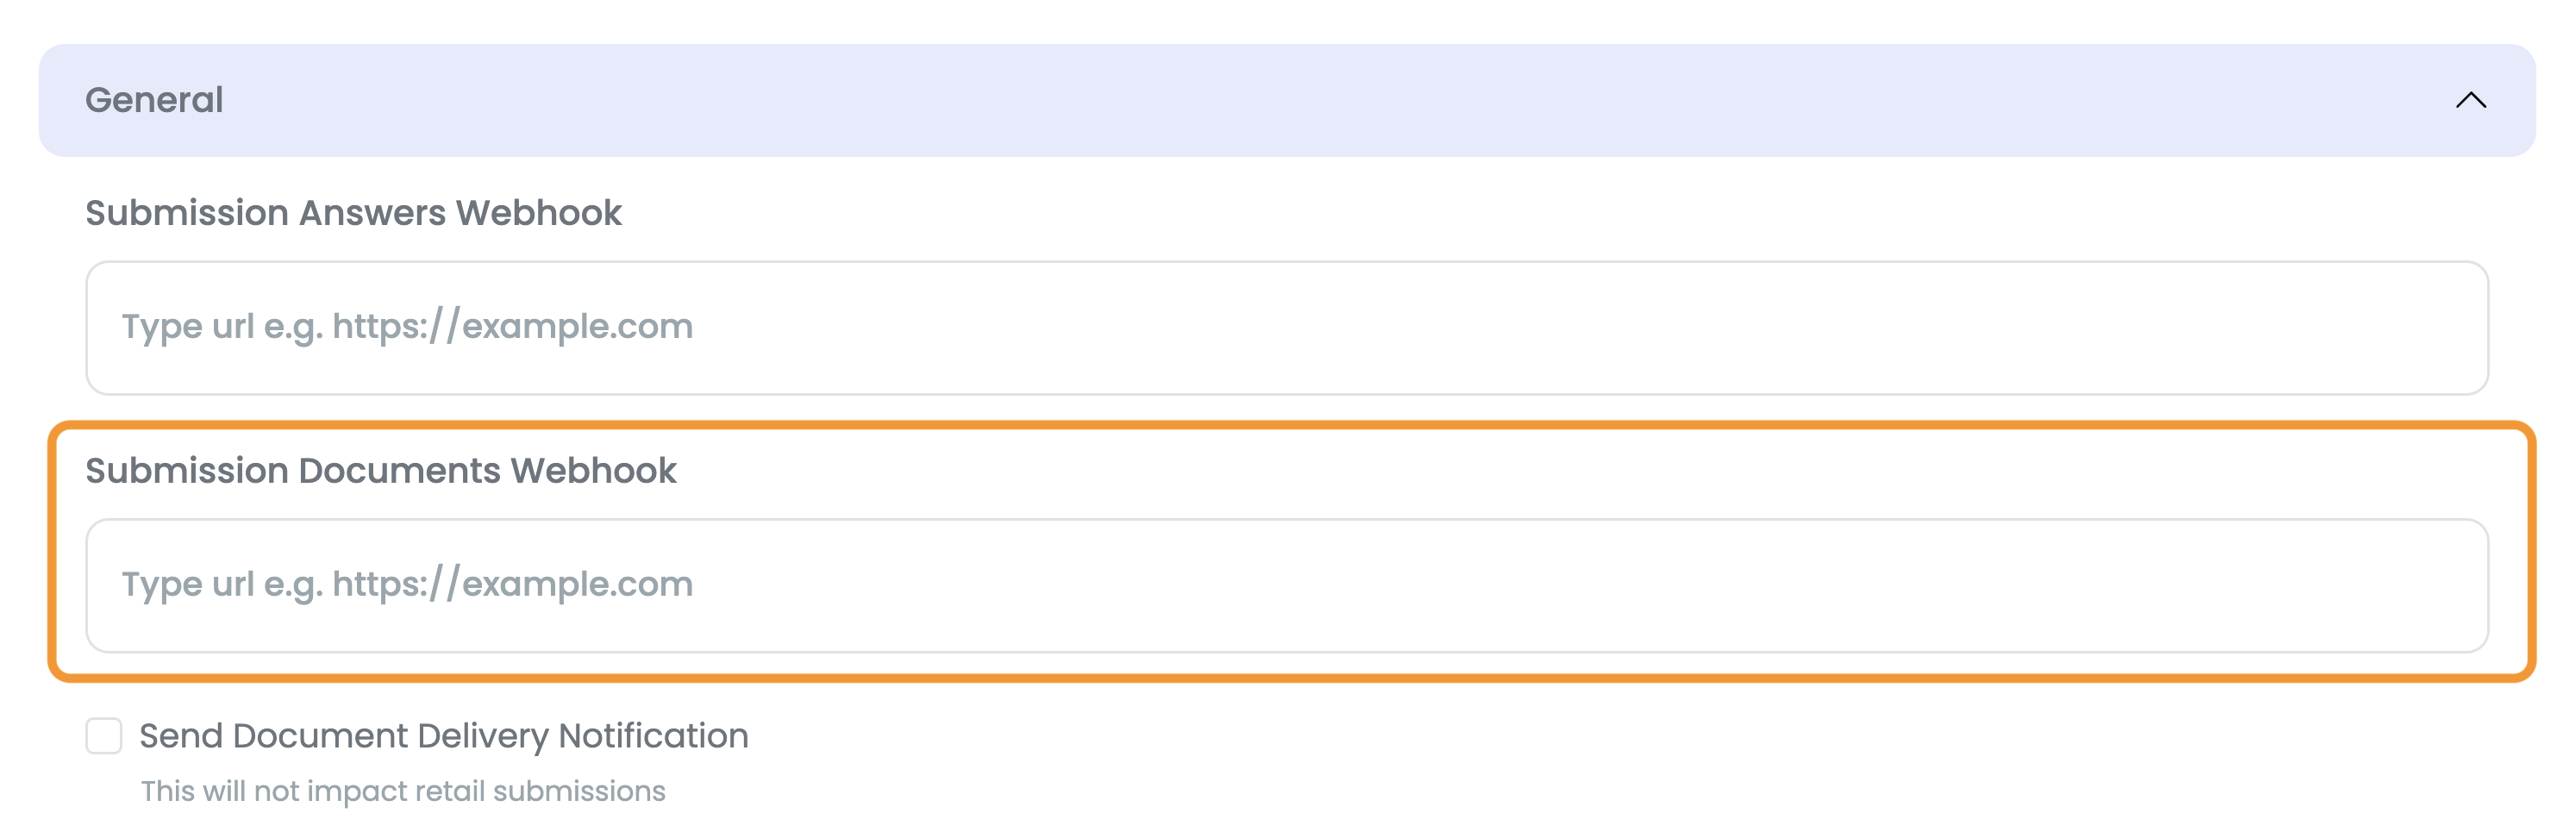
Submission Documents Webhook
The Submission Documents Webhook is used to send generated documents after a user submission. When the necessary documents are generated based on the user's submission, this Webhook sends them to other applications or services for further processing or storage.
To send generated documents to a third party, paste the Webhook URL into the text field.
Press Save at the bottom of the page when you're done making changes.
Note: To use this feature, you must first create or acquire a valid Webhook URL address for establishing a connection. If you are sending your submission data to a Third Party Integration, you can locate your WebHook in your API or Settings Page.
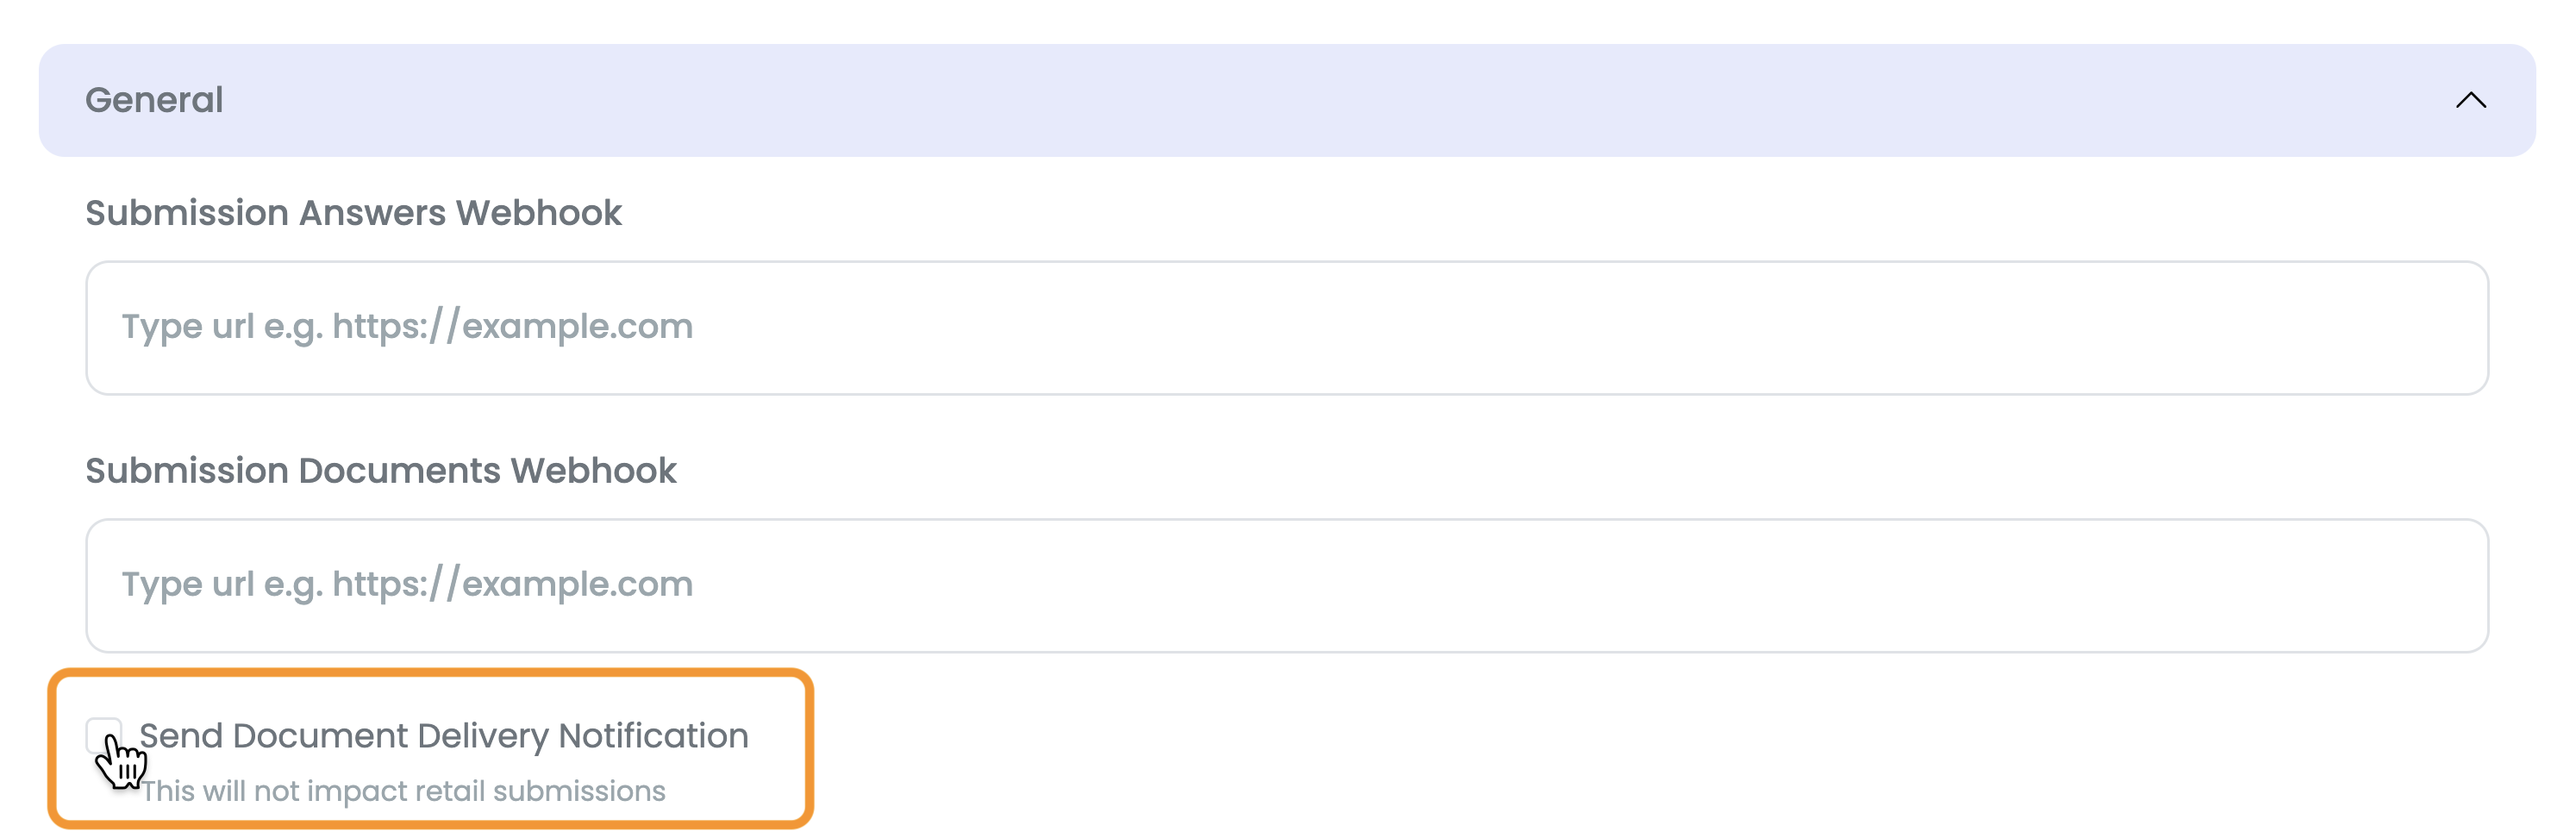
Document Delivery notification
The Document Delivery email is sent to you or your team member when they create a document. The email contains details of their submission and a link to download their documents.
This notification email is turned off by default as a security measure. All of your submitted documents are safely stored in the Submissions Table
If you'd like turn on Document Delivery emails, tick the Send Document Delivery Notification checkbox.
Press Save at the bottom of the page when you're done making changes.
Note: Changing this setting will not impact retail submissions so your clients will be notified when their document has been generated.
We recommend keeping this setting turned off.
Redirect URLs
There are 3 types of redirect URLs you can set:
-
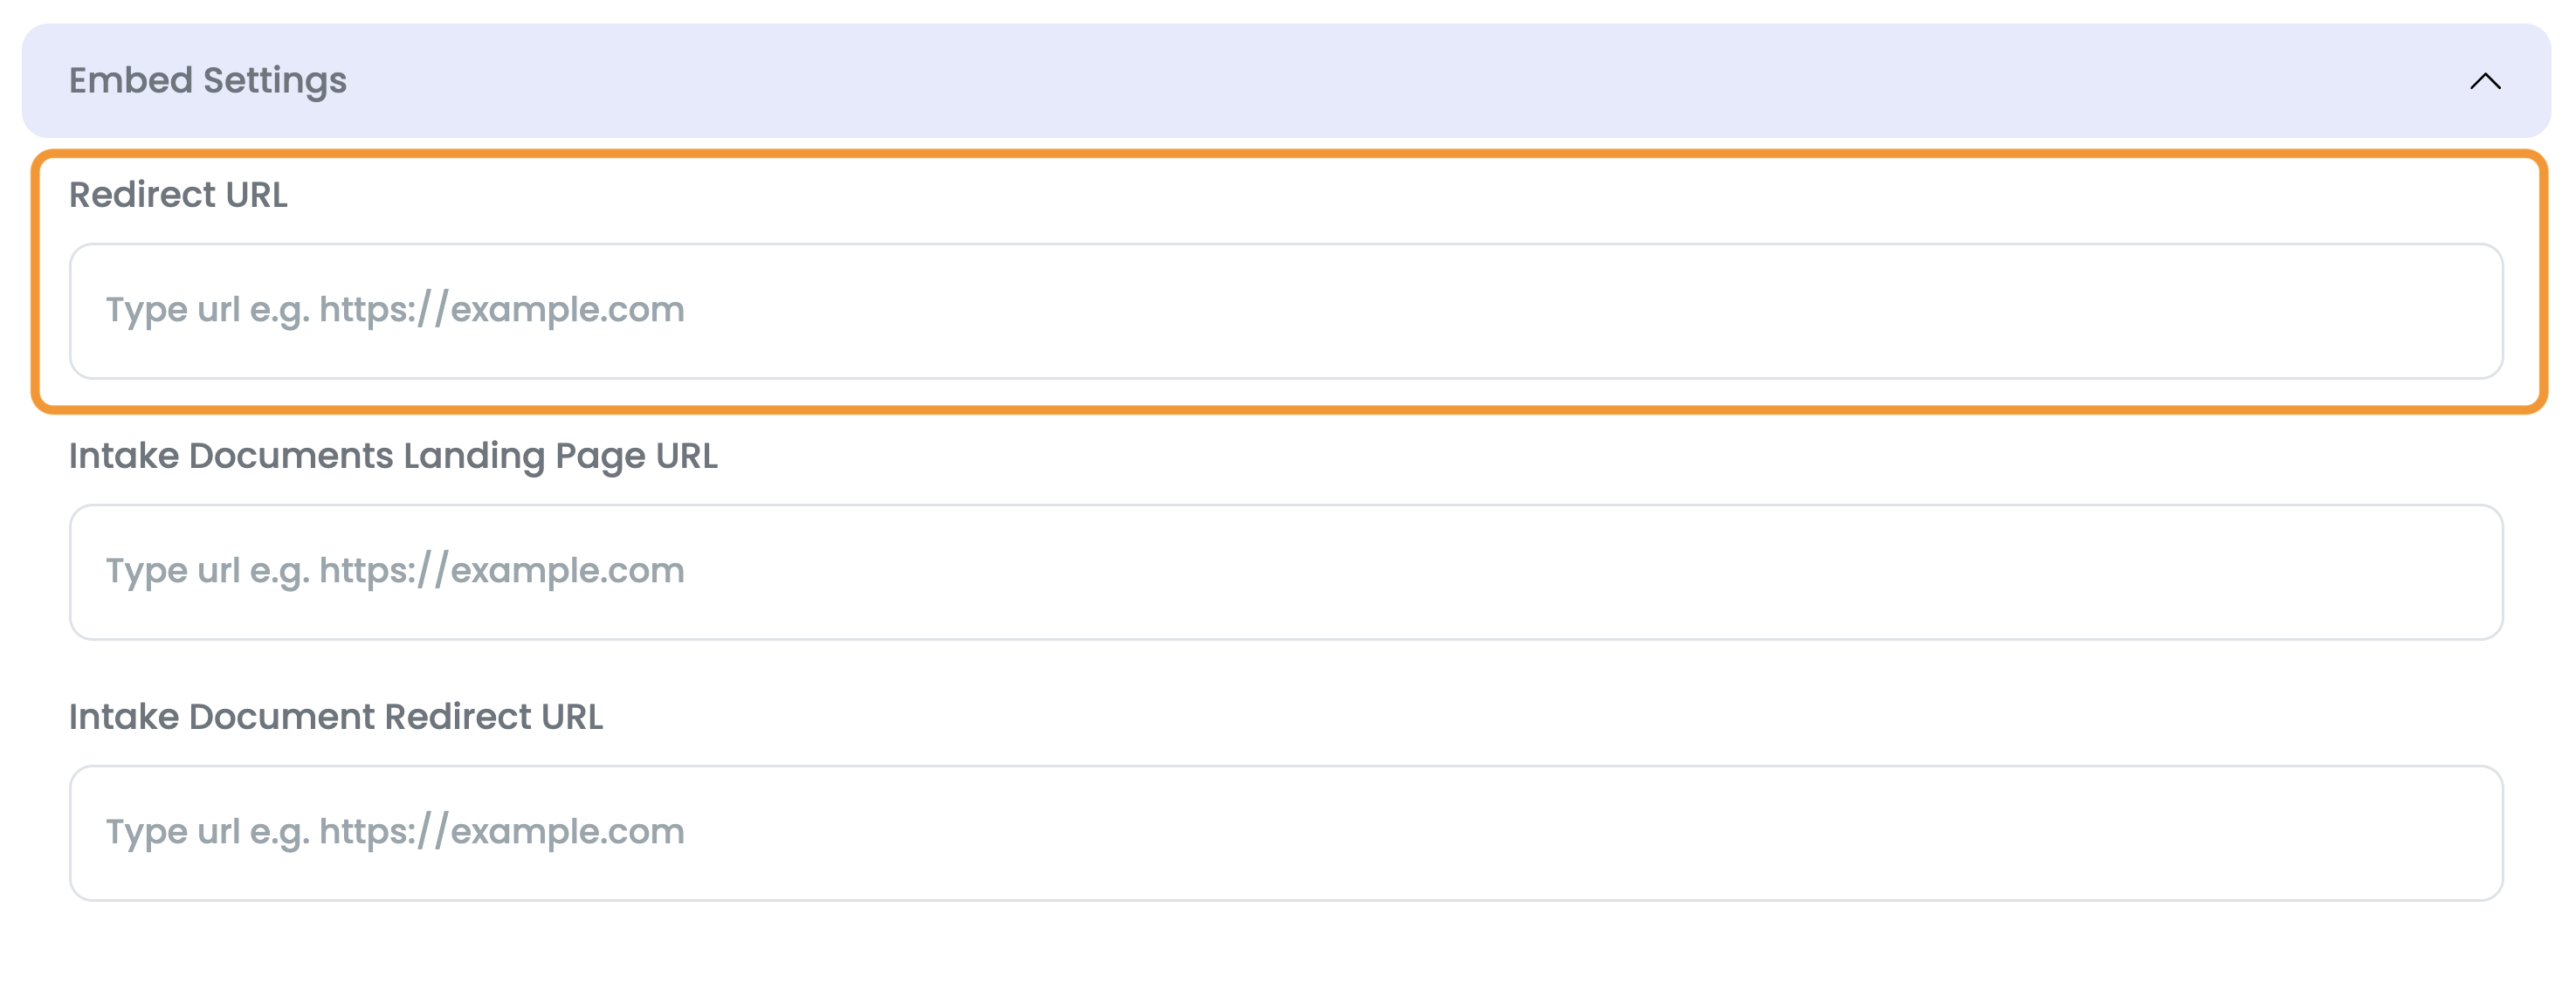
Redirect URL: This URL dictates where your client is redirected after they submit a retail form. This is usually a thank you page or another form of confirmation.
- Intake Forms Landing Page URL: This URL dictates to the web page hosting the landing page where your clients are directed when they are invited to complete an Intake Form.
- Intake Form Redirect URL: This URL dictates where your client is redirected after they submit an intake form. This is usually a thank you page or another form of confirmation.
Redirect URL
To set your Redirect URL, paste it into the text field.
Press Save at the bottom of the page when you're done making changes.
Note: If you leave this blank, your client will not be redirected and will just get a confirmation message saying they have submitted the form. If you have set a Website URL for your account, your client will be redirected there – this is usually your homepage.
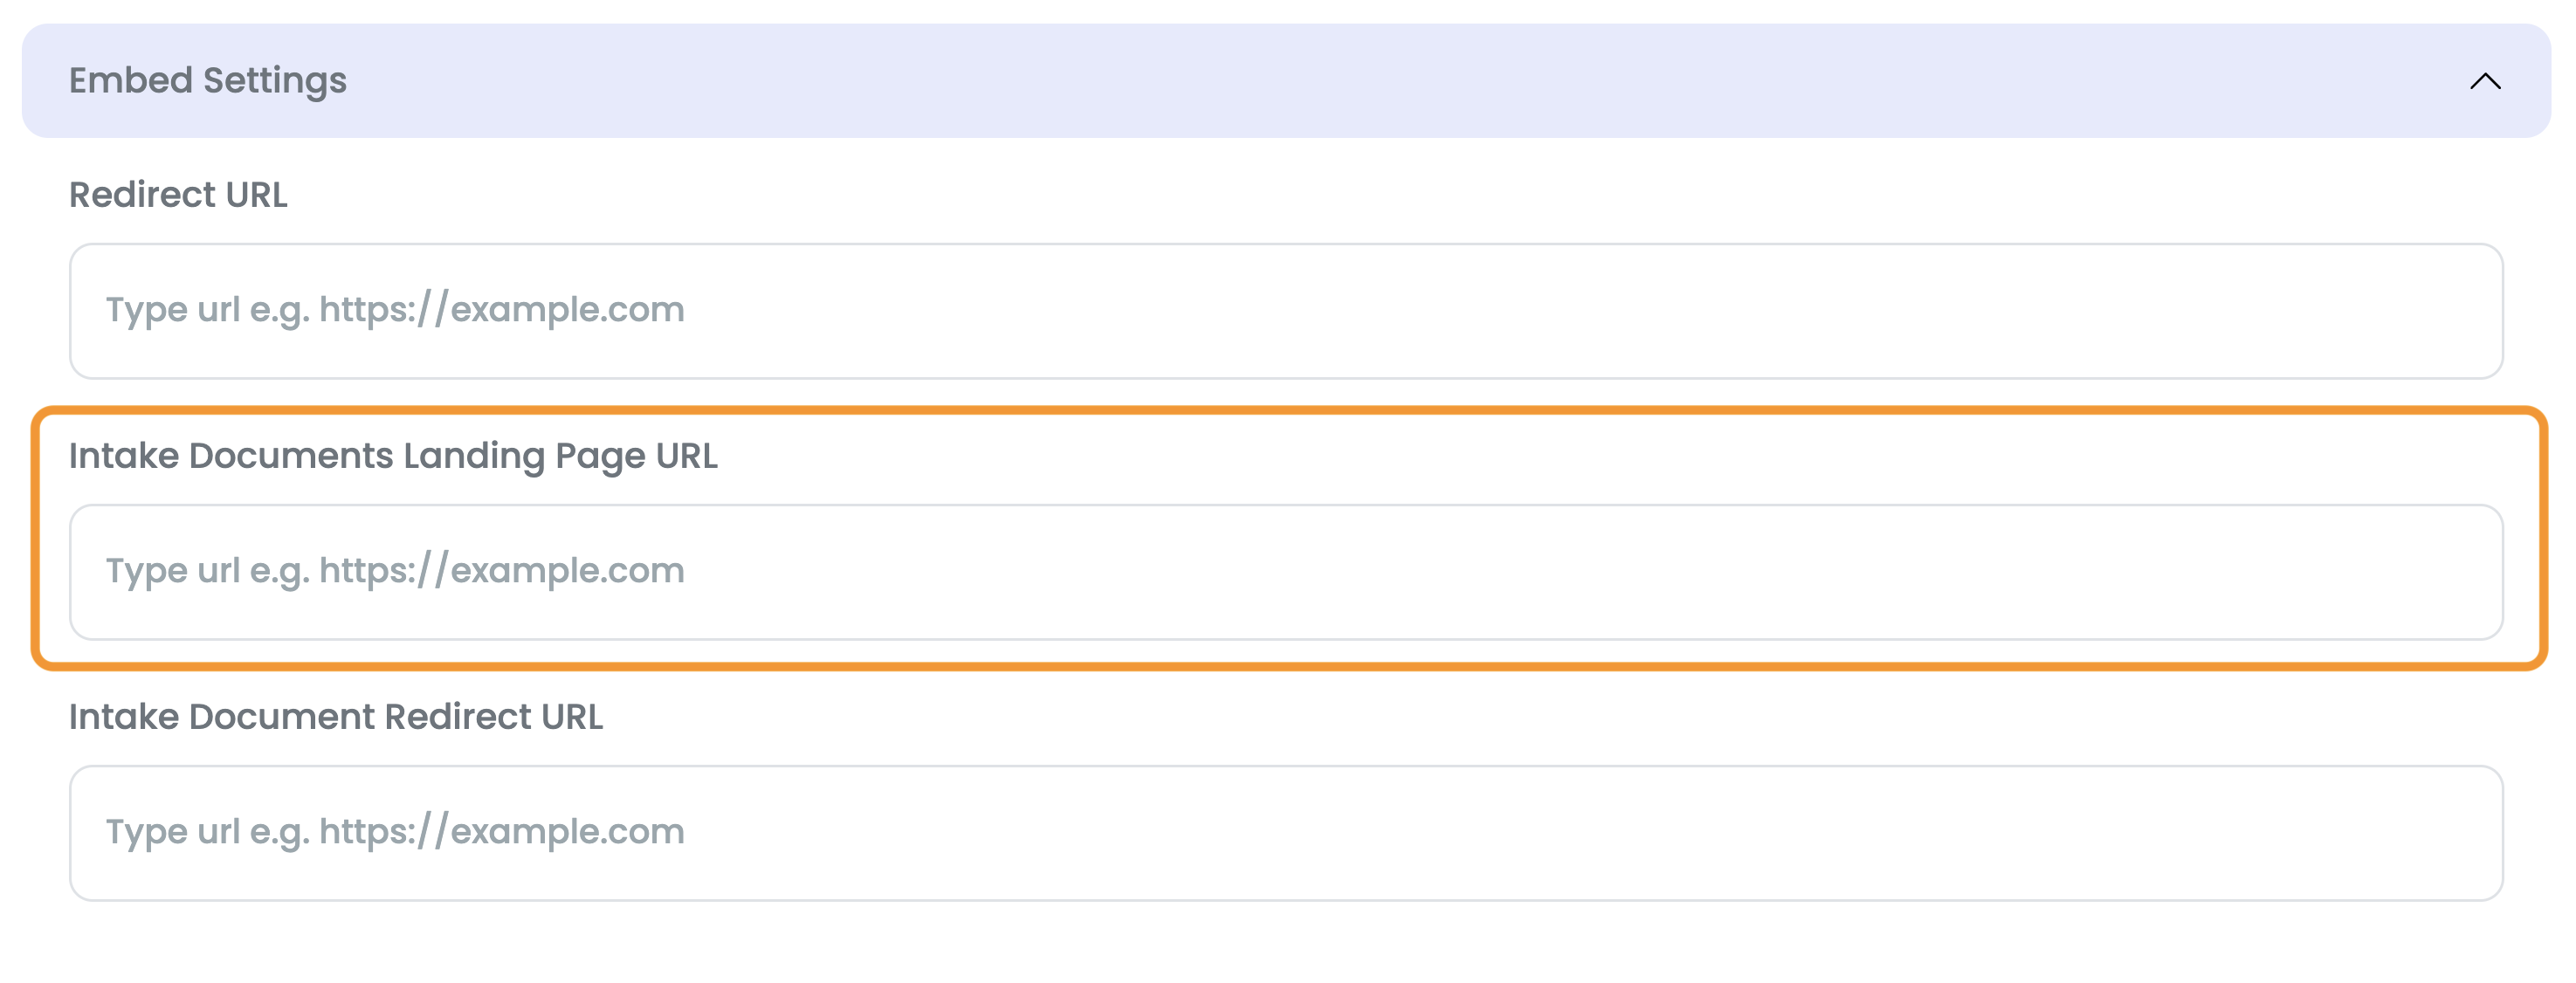
Intake Documents Landing Page URL
To set your Intake Documents Landing Page URL, paste it into the text field.
Press Save at the bottom of the page when you're done making changes.
Note: If you leave this blank, your client will be redirected to a default Smarter Drafter branded landing page.
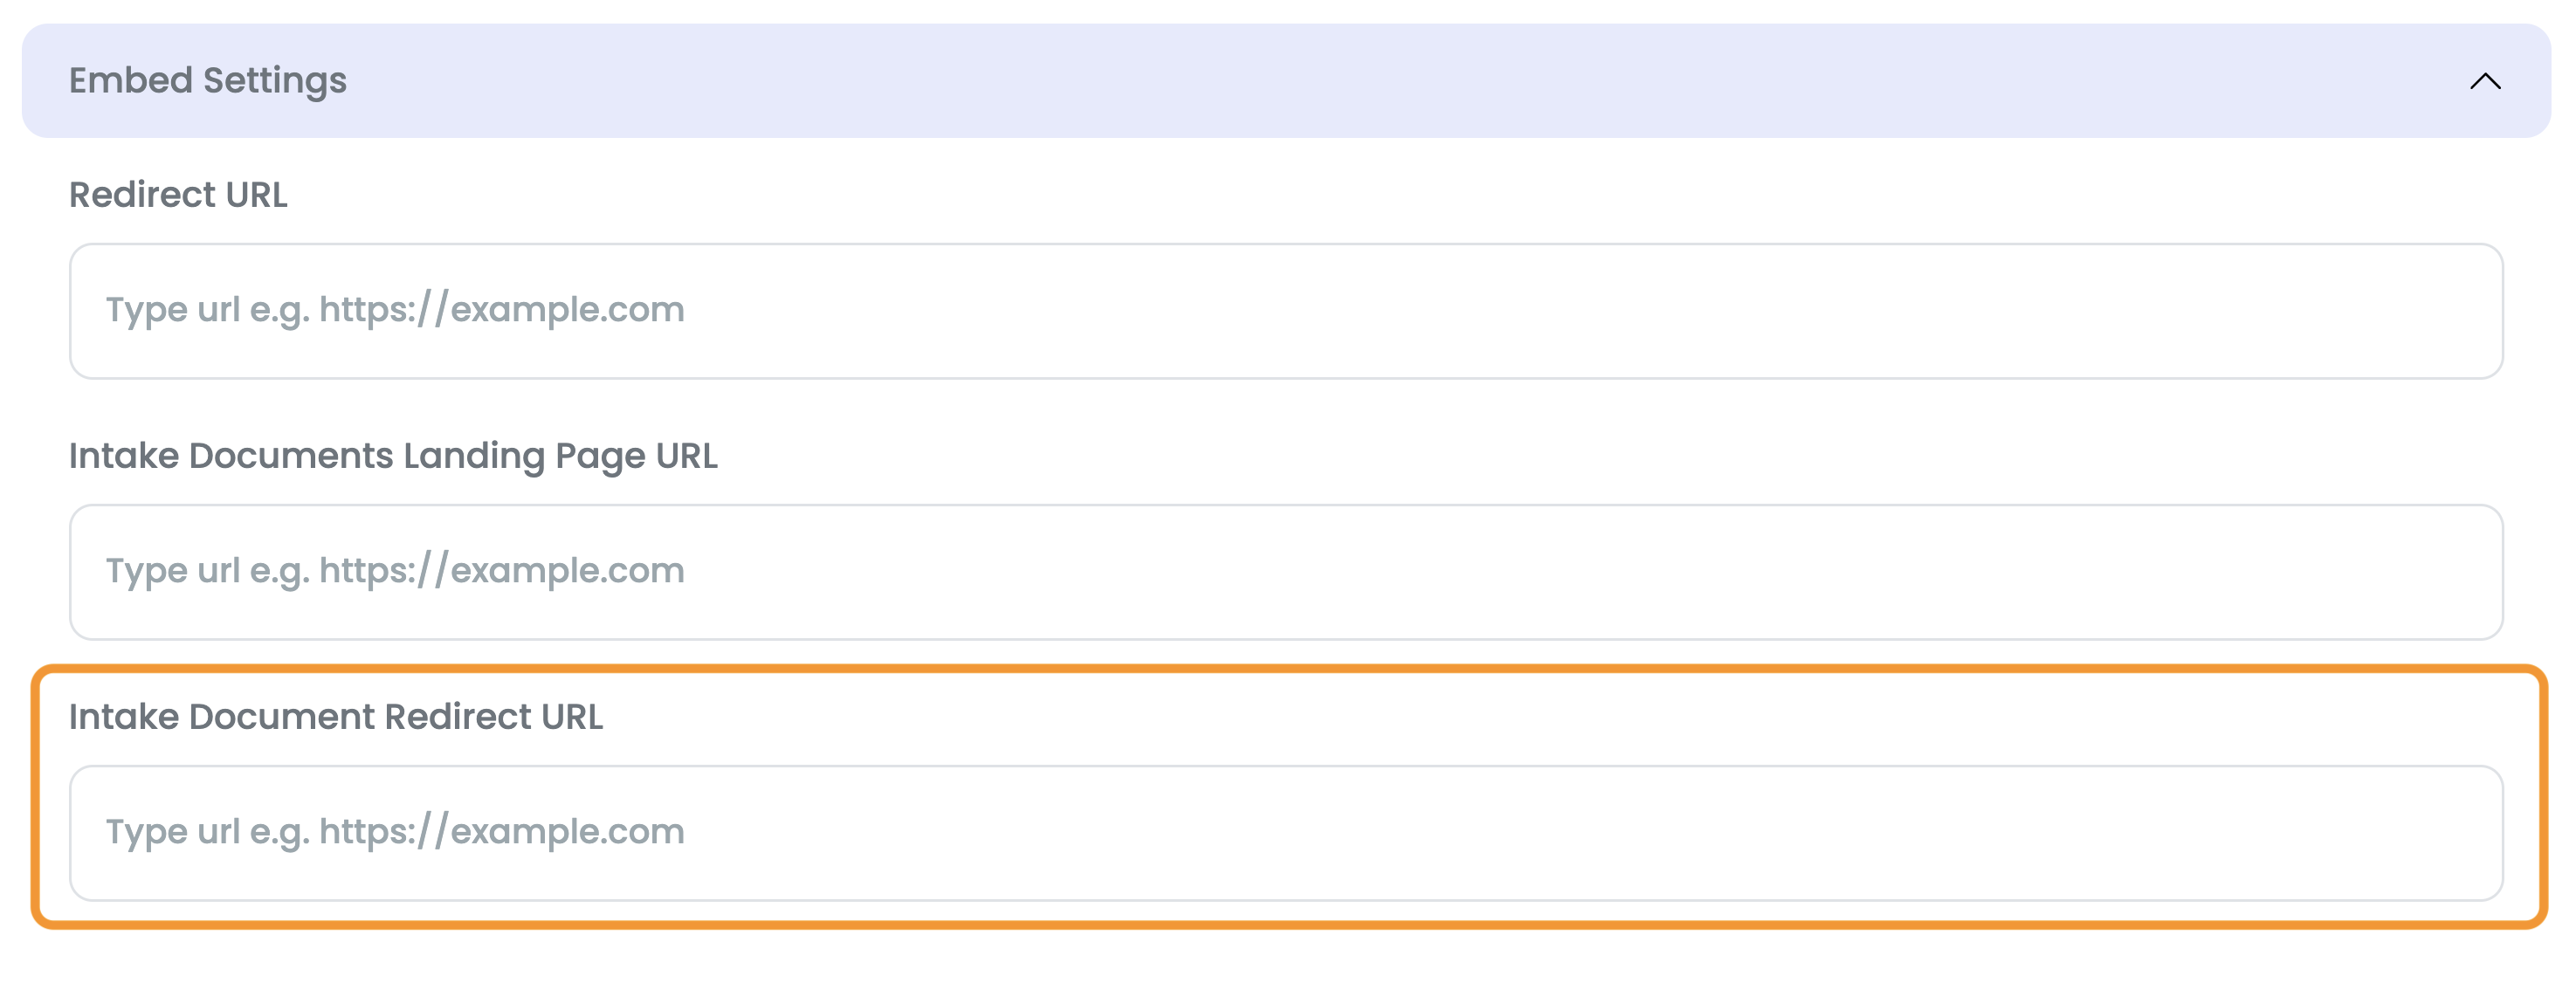
Intake Document Redirect URL
To set your Intake Document Redirect URL, paste it into the text field.
Press Save at the bottom of the page when you're done making changes.
Note: If you leave this blank, your client will not be redirected and will just get a confirmation message they have submitted the form.